

Custom Coil-On-Plug Ignition Conversion, Page 3
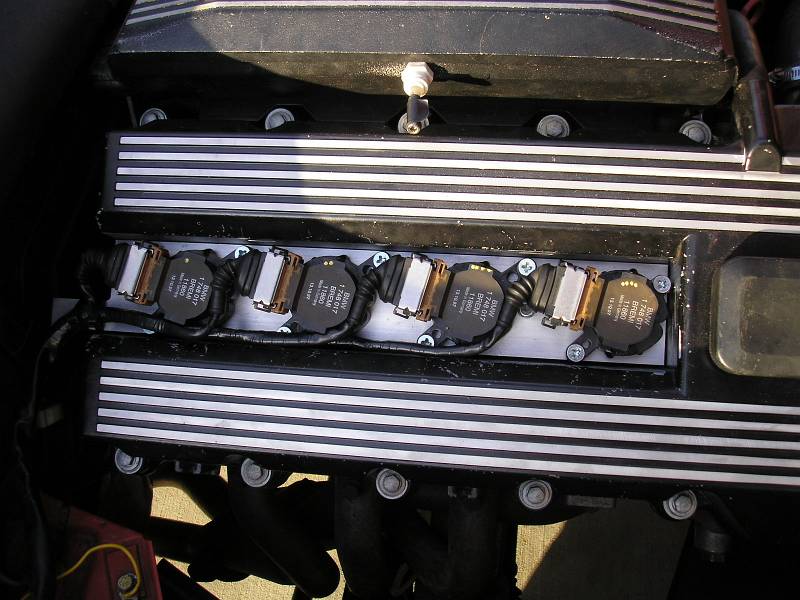
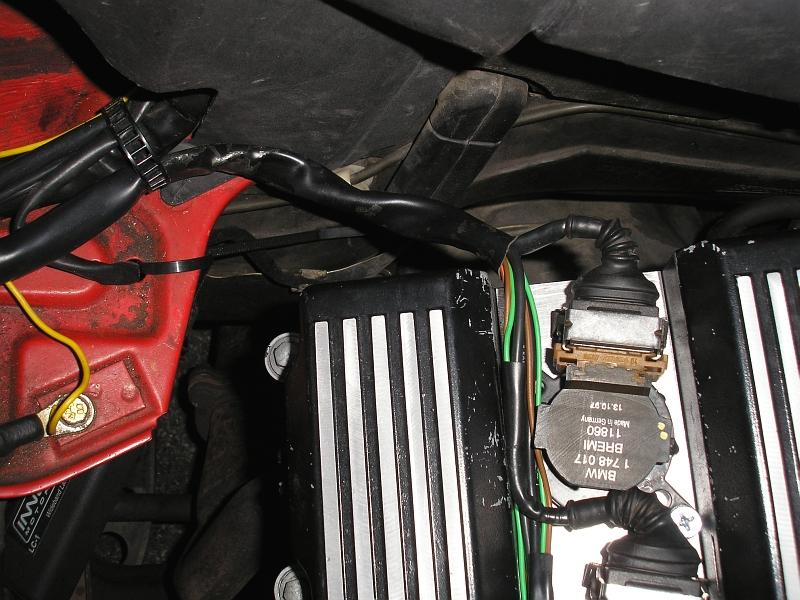
The next item needing attention was the harness length. It needed to be trimmed...badly. The connectors were disassembled, and all the wires trimmed. A fastening bracket was added near cylinder four to tie the harness down onto. If left floating, engine vibrations would soon cause a fatigue failure in the wires at the connectors.
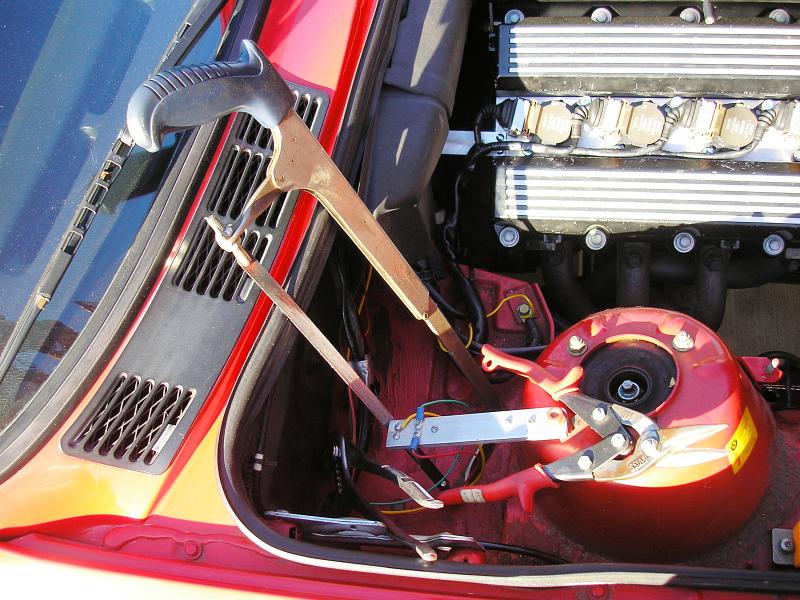
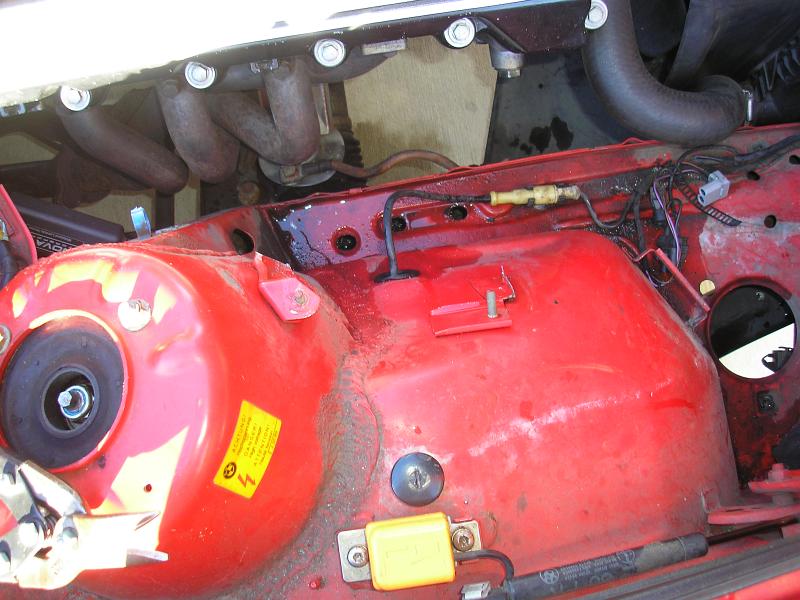
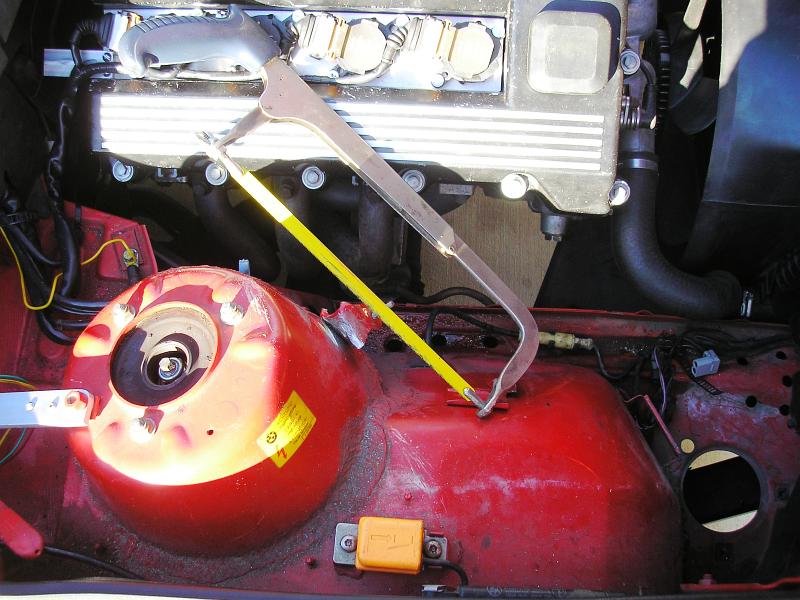
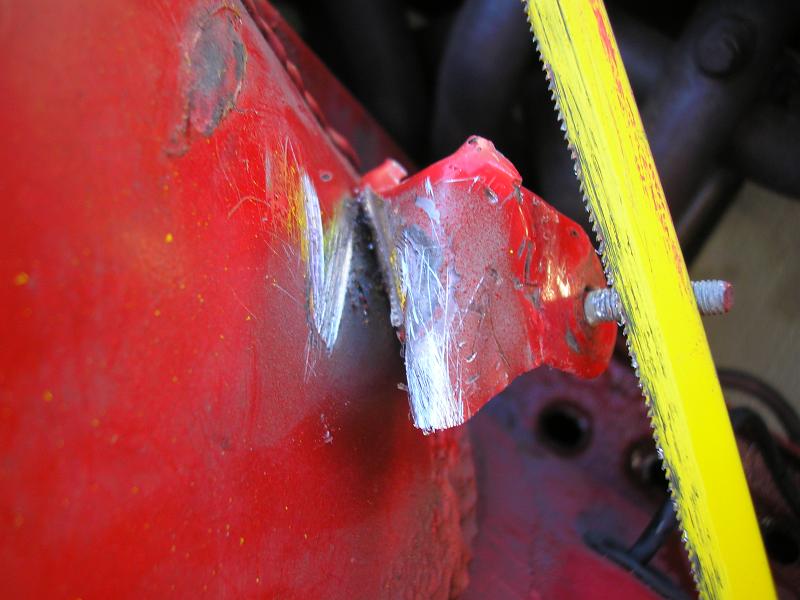
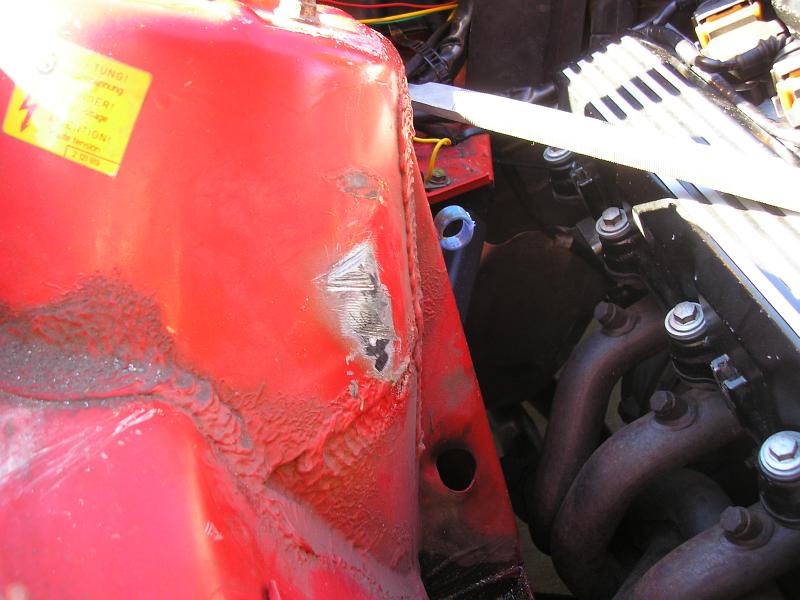
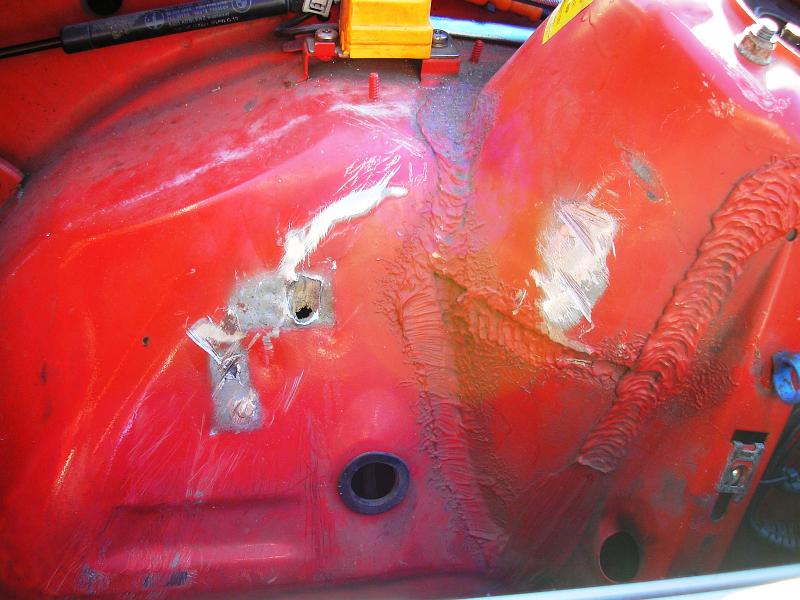
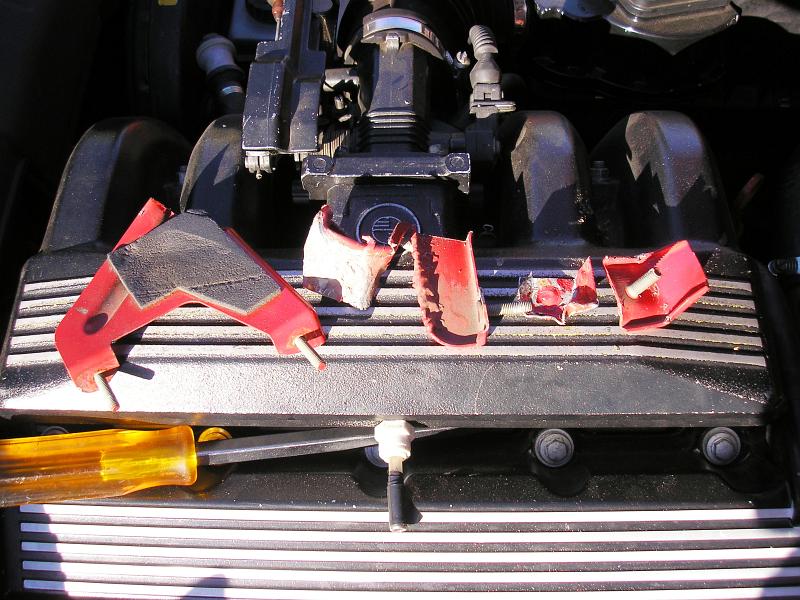
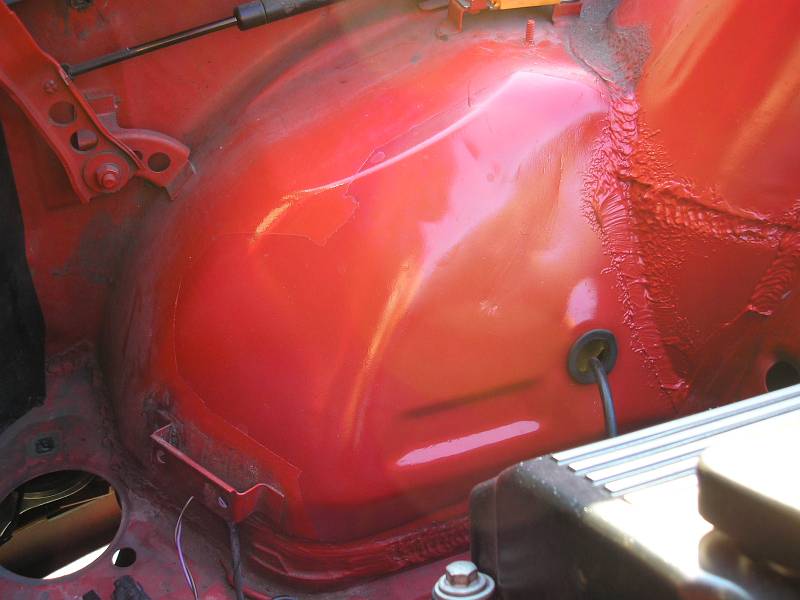
Once I was sure that everything was OK, I set to work removing the original coil pack brackets. It was pretty easy to do using pliers, a hack saw and some patience. After the cutting was done, everything was filed, sanded and Bondo'ed. Therafter, it was all masked and painted. The paint was not quite a perfect match, but some future wet-sanding and blending should fix that.

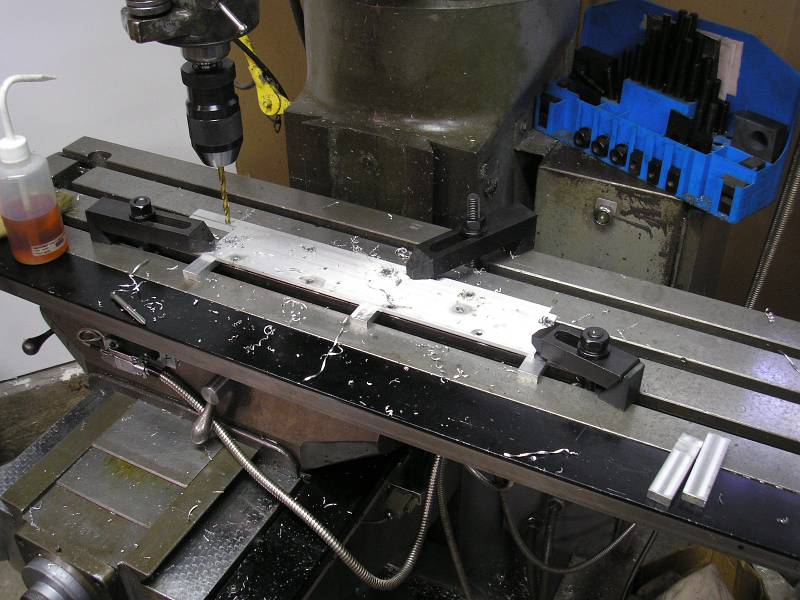
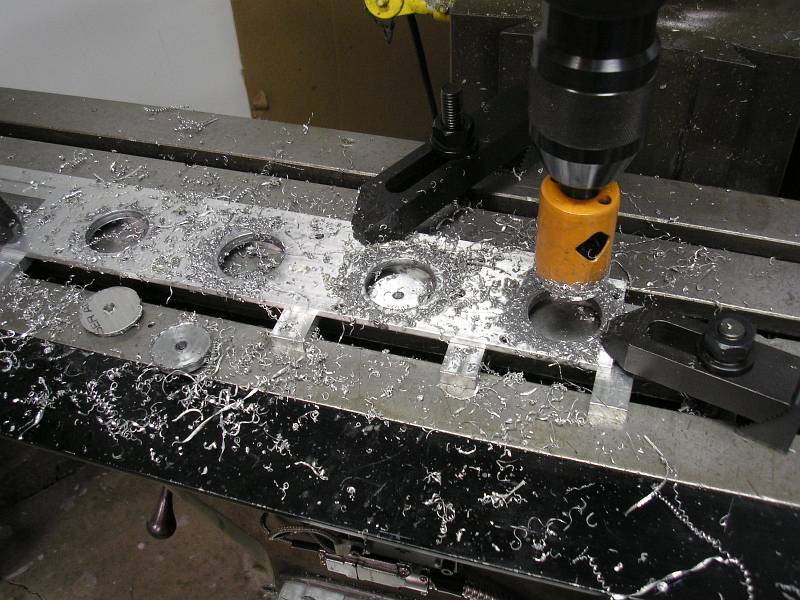
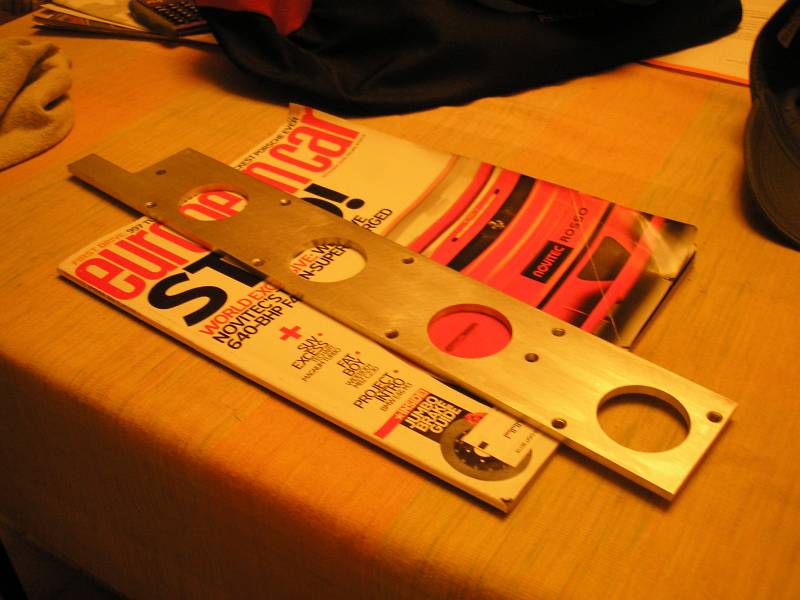
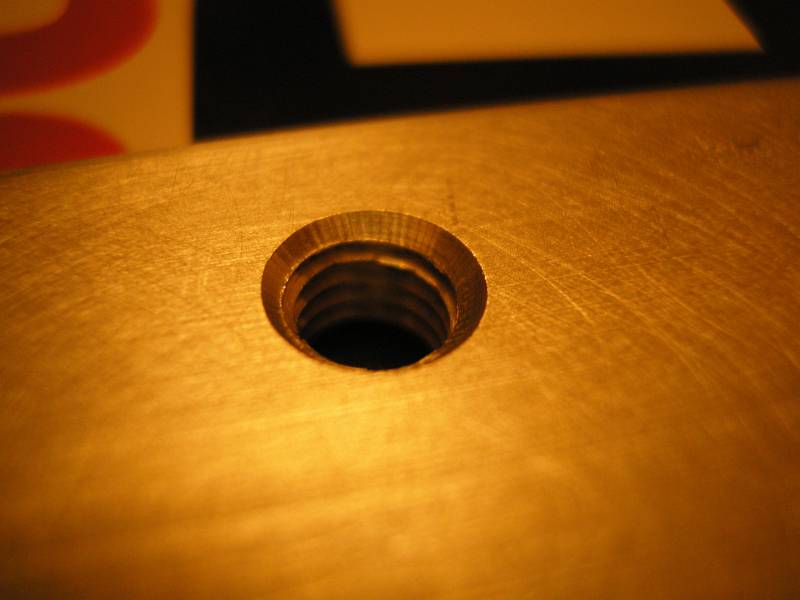
Next, I built a nicer looking bracket. The purchase of a hole-saw proved to be a worthwhile investment. The use of some boring bars also helped to make a nice clean hole. A digital position readout was also added to the mill before this, making things FAR easier this time around!


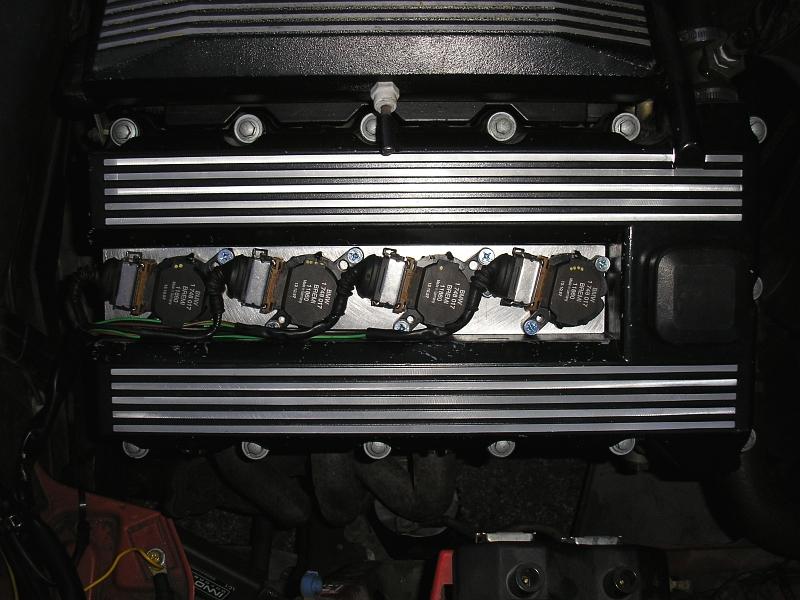
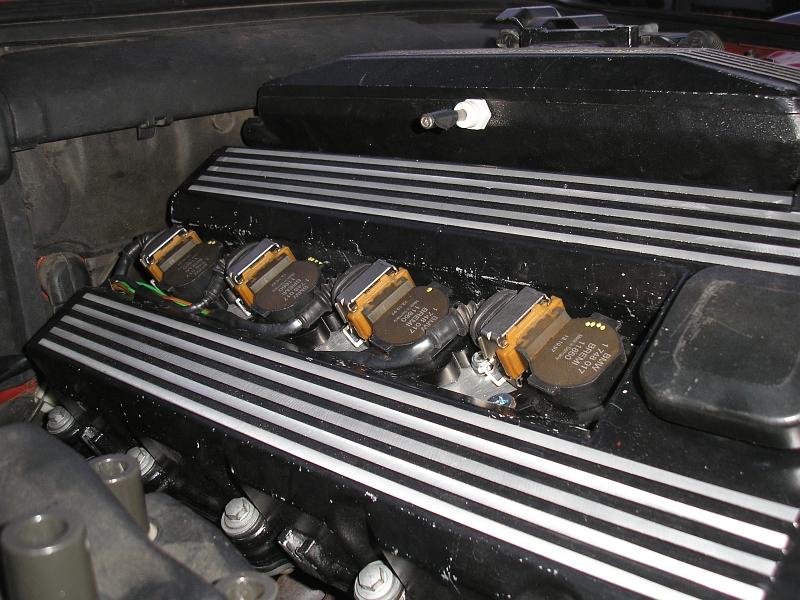
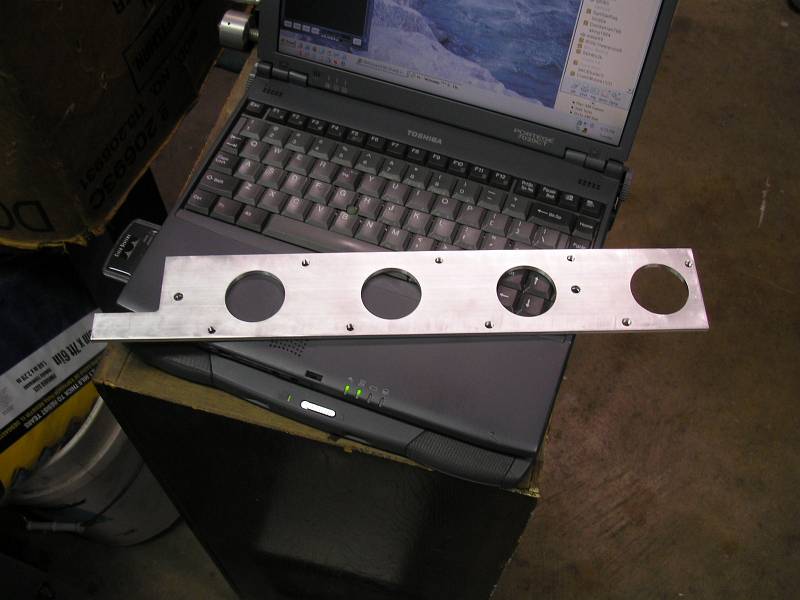
Here is the finished product. It has the cable-securing arm built in by design, and has some minor corrections to ensure the best possible fitment of the coils. A black powdercoating would be a nice addition to this piece someday, along with the valve cover itself!


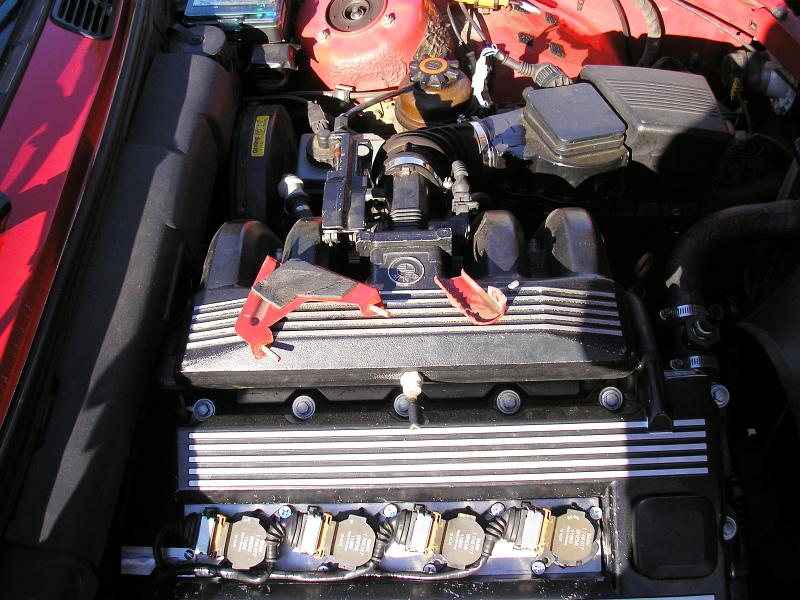
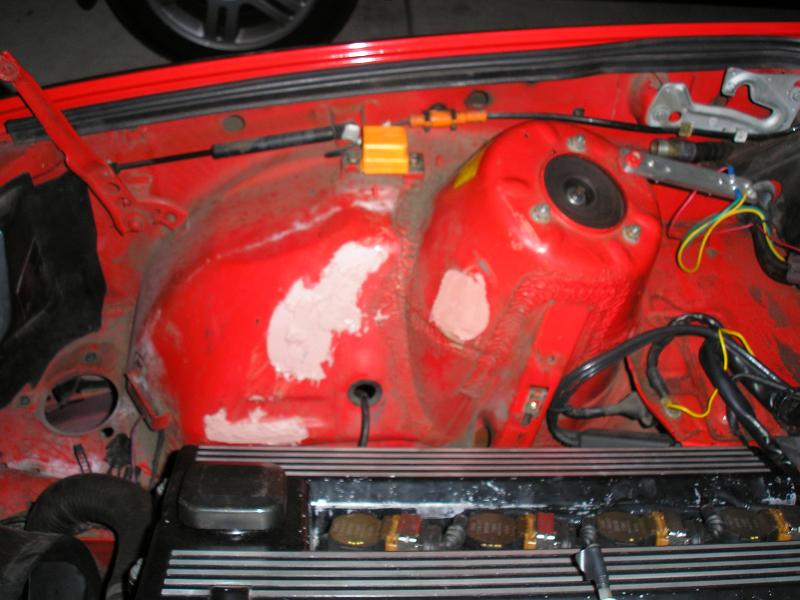
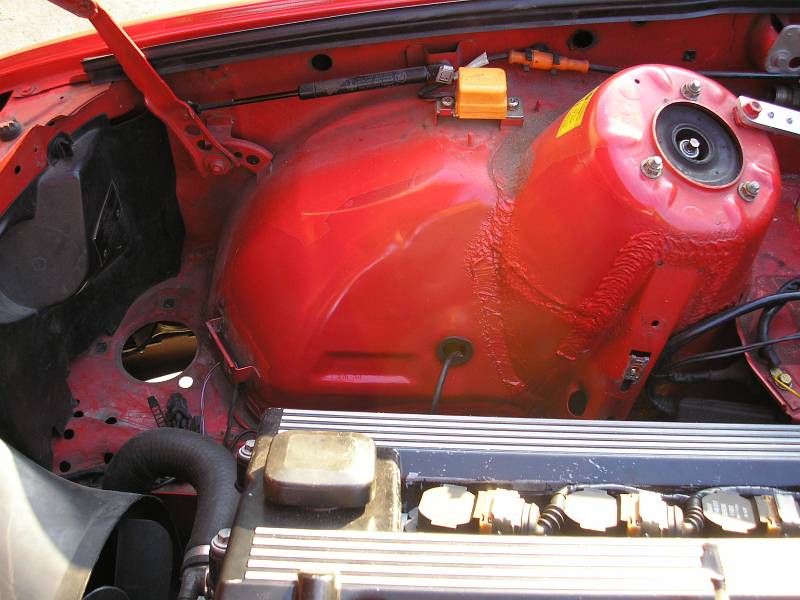
Finally, here it is, installed and ready to go. This made a lot of space in the passenger side of the engine bay...maybe someday a turbocharger will inhabit the space. The car did seem to run noticeably smoother after the conversion, leading me to believe that my plug wires were worn out. The project did not really provide any gains in performance, but it DID add to my peace of mind and the aesthetics under the hood.