


Repairing Valve Cover Bolt Holes
Abstract
As many M42 owners have come to find, the threads in the cylinder head that the valve cover bolts go into are rubbish after a few cover installs/removals. Well, being that it got bad enough that oil was slowly leaking out (and likely causing a vacuum leak, explaining my car's slightly degraded running), I decided to do something about it!
Thread repair kits can be purchased at prettymuch any auto parts store. The ones you want here are for repairing M6x1 threads. The coil insert lengths can vary from 6mm to 12mm. The ones I purchased were 9mm (it was all they had available). You do not want them any shorter than 9mm. The kit is usually $20-30US.
It is also advisable to replace all the valve cover gaskets while you are at it. A set of all 5 will run you about $25US.
Tools
3/8" Drive Ratchet
10mm Socket
1/4" Drive Ratchet
1/4" Drive Socket Set
Drill
Drill Bit Specified by Helical Insert Kit
Tap Included in Helical Insert Kit
Set of Box Wrenches
M6x1 Tap
Required Parts
Helical Insert Kit for M6x1 Thread Repair
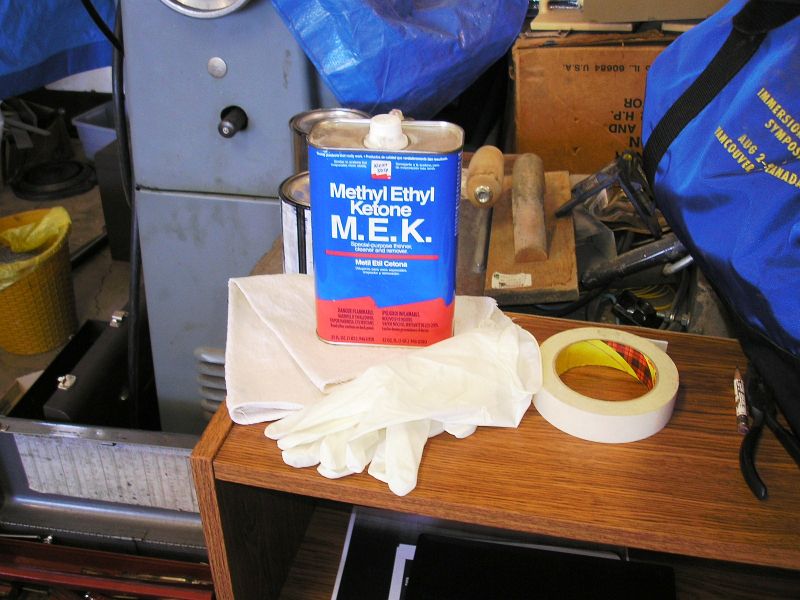
Masking Tape
Old Newspaper or the Like
MEK or Similar Degreaser
Main Valve Cover Gasket [PN 11-12-1-721-876] OPTIONAL
3 x Center Valve Cover Gasket [PN 11-12-1-721-476] OPTIONAL
1 x Odd Center Valve Cover Gasket [PN 11-12-1-721-475] OPTIONAL
Procedure
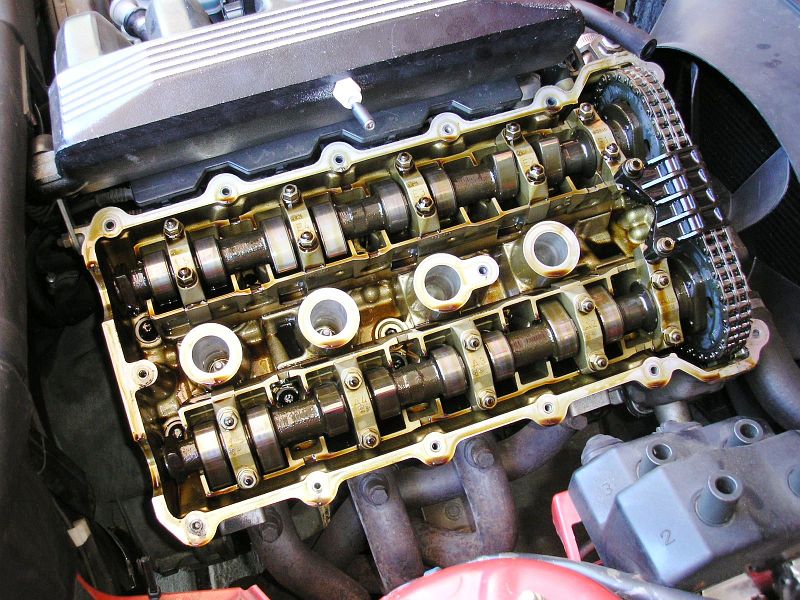
Begin by removing the valve cover. Typically, stripped bolt holes and old valve cover gaskets will lead to a lot of oil leakage, and a very messy engine compartment. It can even go so far as to cause PCV vacuum problems.
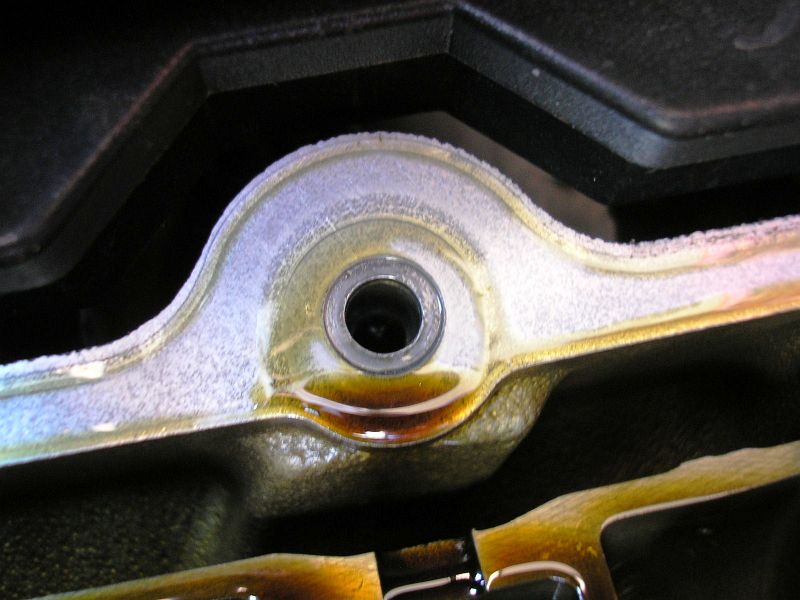
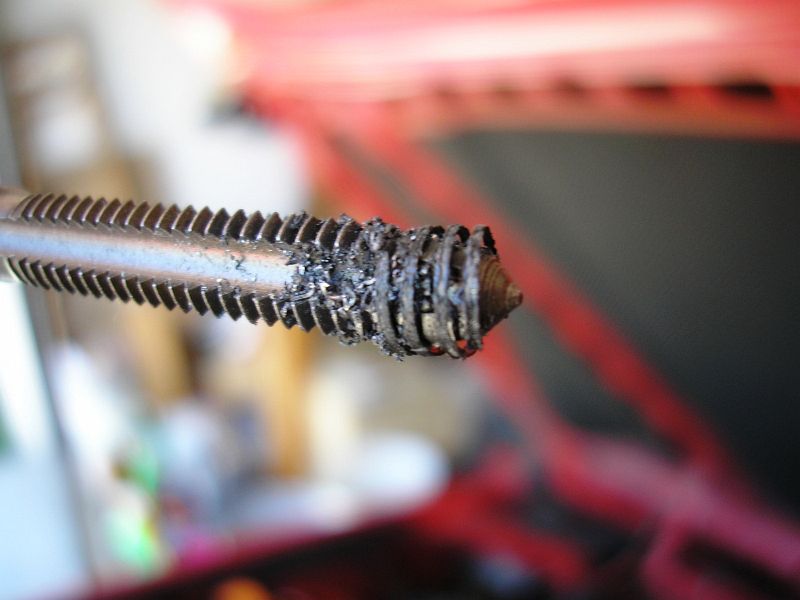
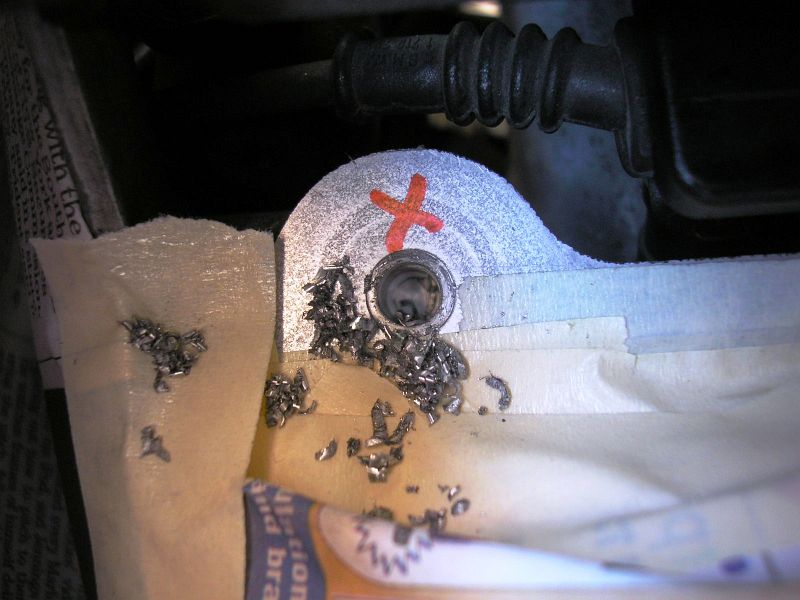
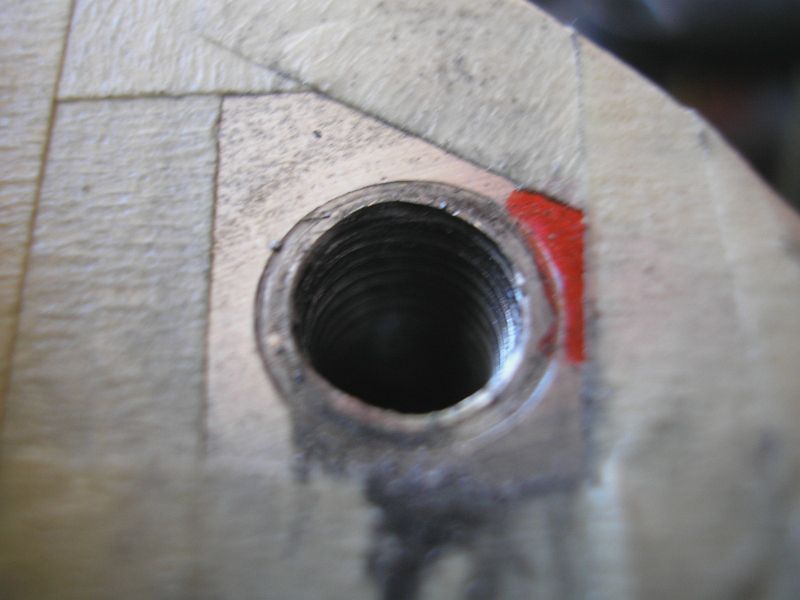
Look for any obviously stripped holes. Finding the remains of old threads is a sure sign of trouble, as seen to the left. Threads are most useful when they stay put in their original location, in one piece like on the right!

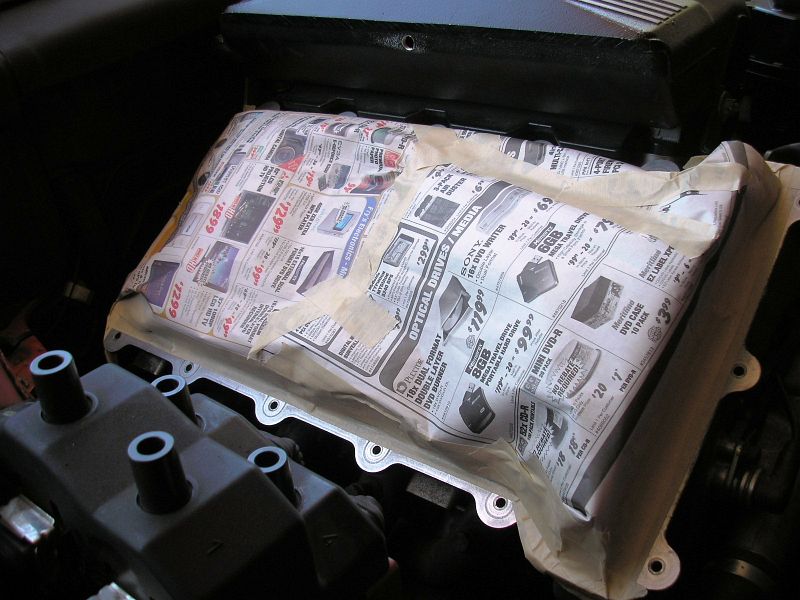
Before you begin to mask off the valvetrain, use some degreaser or mineral spirits to thoroughly remove any oil or grease on the gasketing surfaces. You want the masking tape to stay put. Going overkill on the prep work is well worth keeping metal shards out of the oil circulation system. Be sure to wear gloves when handling solvents...well, unless you like having skin cancer. A face mask/air filter is recommended as well.
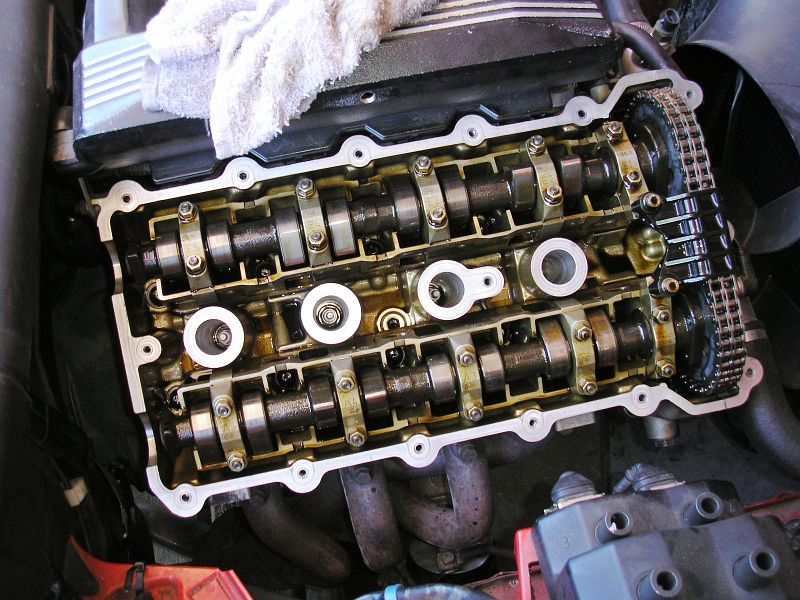
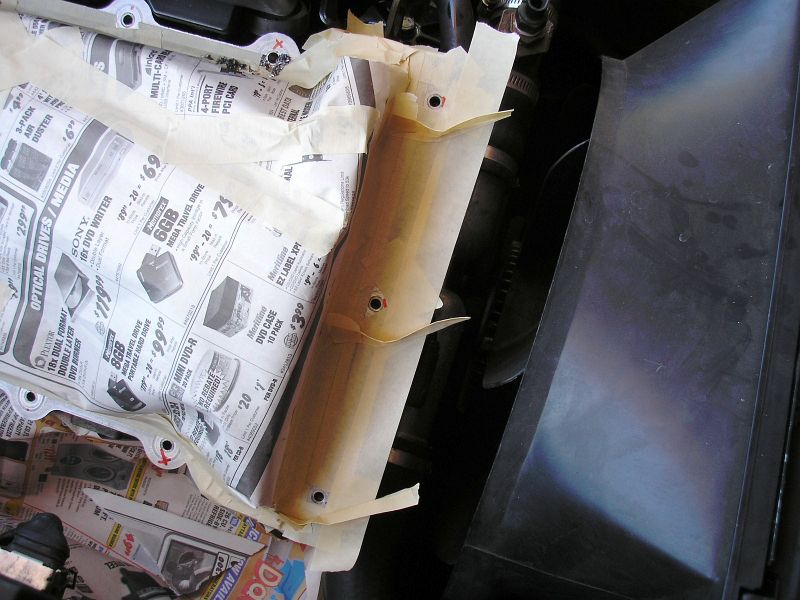
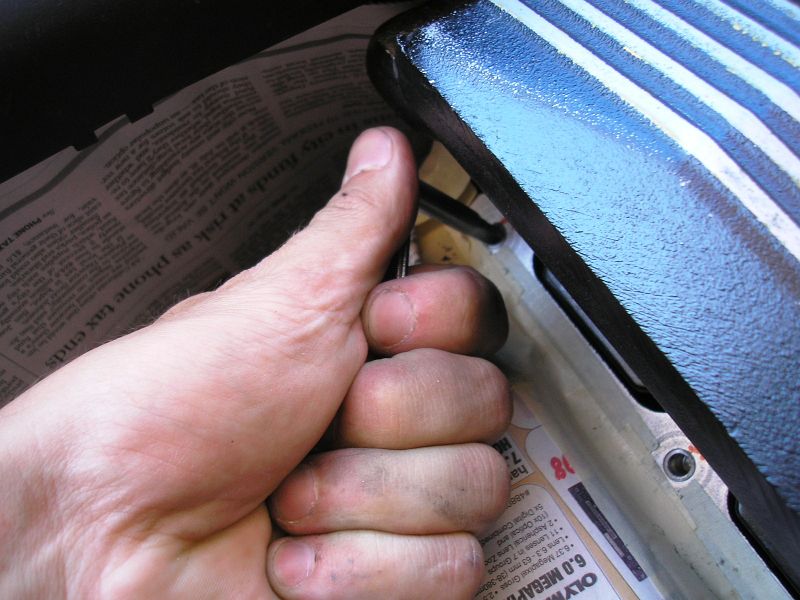
Now, mask off every possible opening to the oil circulation system. I added small "catches" on the front of the motor as well, just to keep swarf from falling all over the engine bay. Again, spend a lot of time carefully masking things off and you will not regret it. Make sure that the tape has stayed seated on all contact surfaces. Also, make sure you did not cover the threaded holes since you will be working on them!

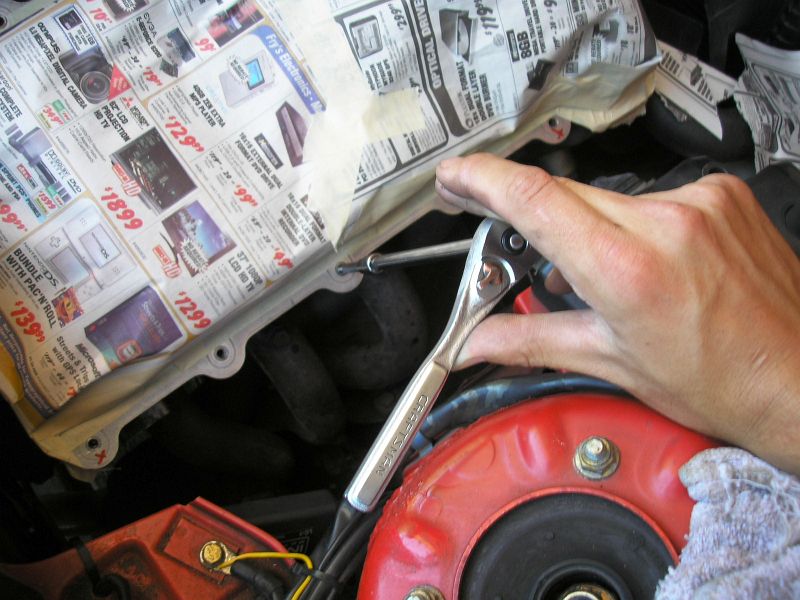
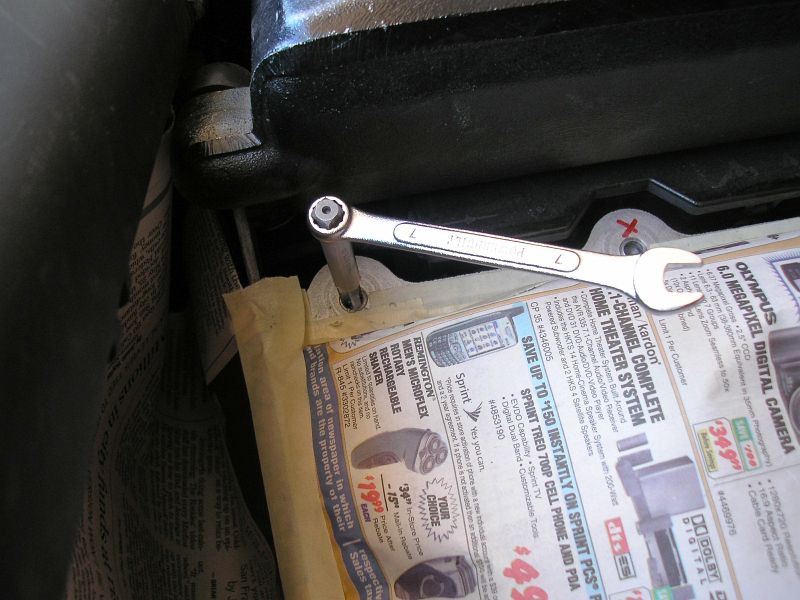
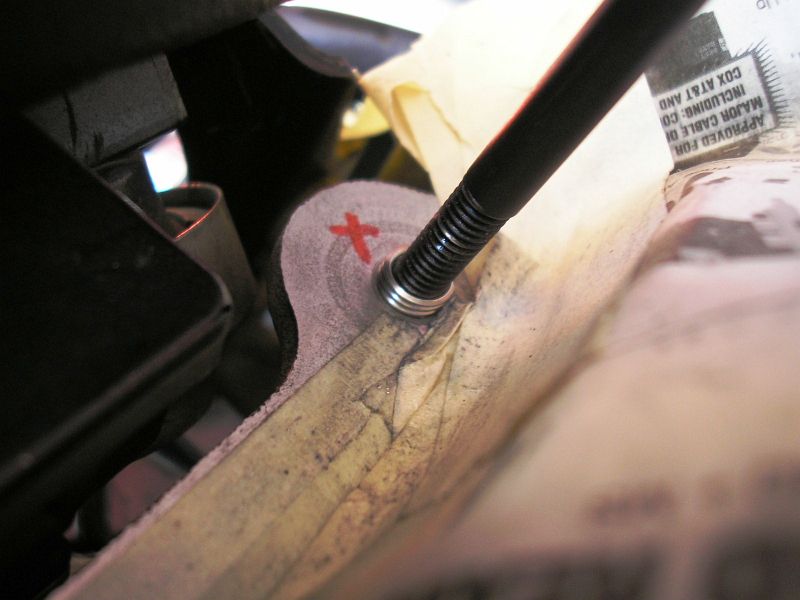
Once you are done masking, get out the M6x1 tap. If you cannot fit it in up near the intake manifold with the tap handle, use the 1/4" drive ratchet and a socket that fits the end of it. Go through each hole carefully. If little or no material comes out, then the hole is OK. If the threads tear out or there are none to begin with, then the hole is bad. Mark each bad hole in some way so you will know which ones need drilling. Of course, you can just go through and do all the holes if you wish, just to be safe.

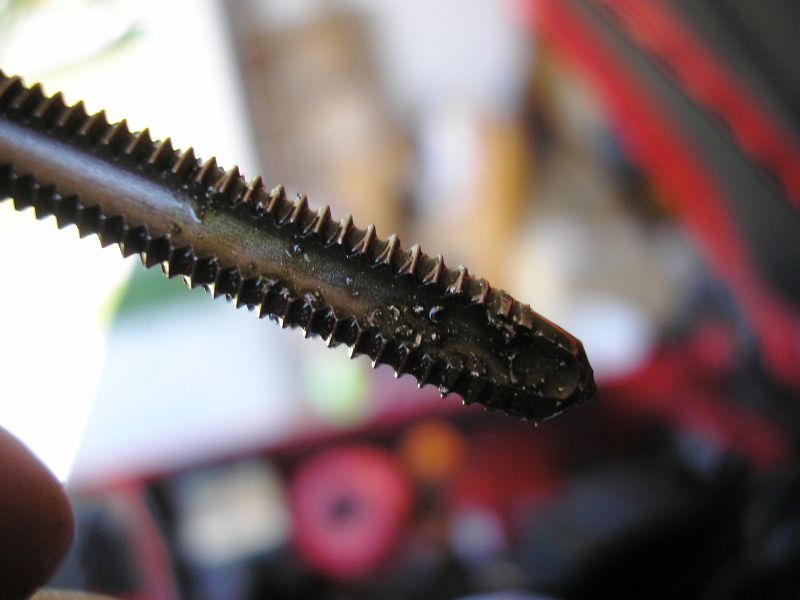
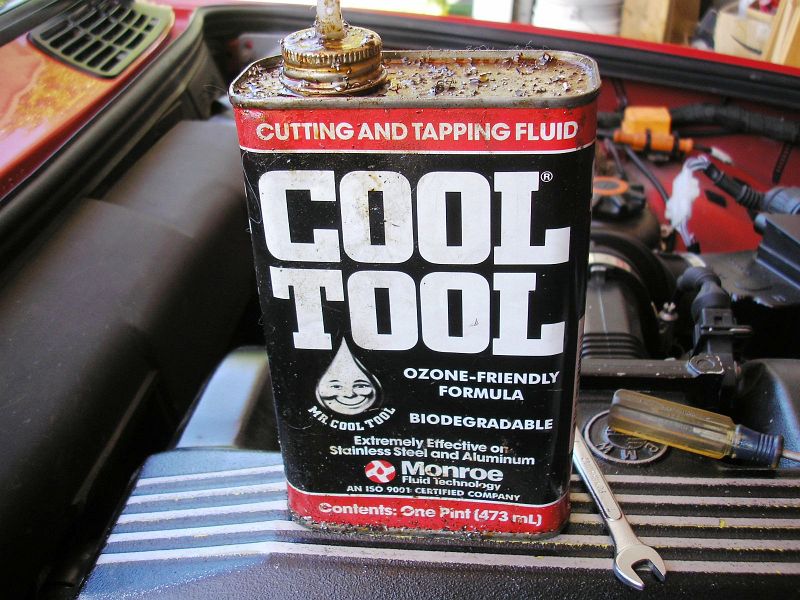
Next, drill out the bad holes with the prescribed diameter of drill bit. In my case, the kit called for a .250" bit. Be sure to use some cutting oil when drilling! Aside from creating a cleaner cut, it helps to keep the chips clumped together. After drilling, thoroughly vacuum out any chips.


Get out the tap provided with your helical insert kit. Again, use cutting oil here! Carefully tap the new threads into the blank holes. When the tap handle did not fit up near the valve cover, I used a 7mm box wrench on the tap. Now, this is risky as you can get the holes tapped crooked. I started the tap by hand to keep everything straight prior to using the wrench. After tapping a new hole, clean off the tap, apply more cutting oil and re-chase the new threads. This will help to remove any debris in the threads, and help lengthen the life of the new threads. Be sure to vacuum after tapping.

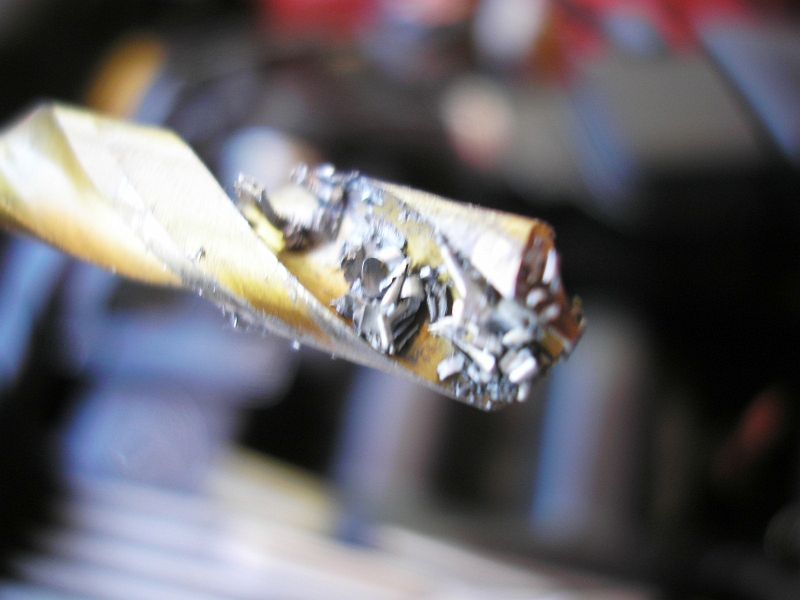
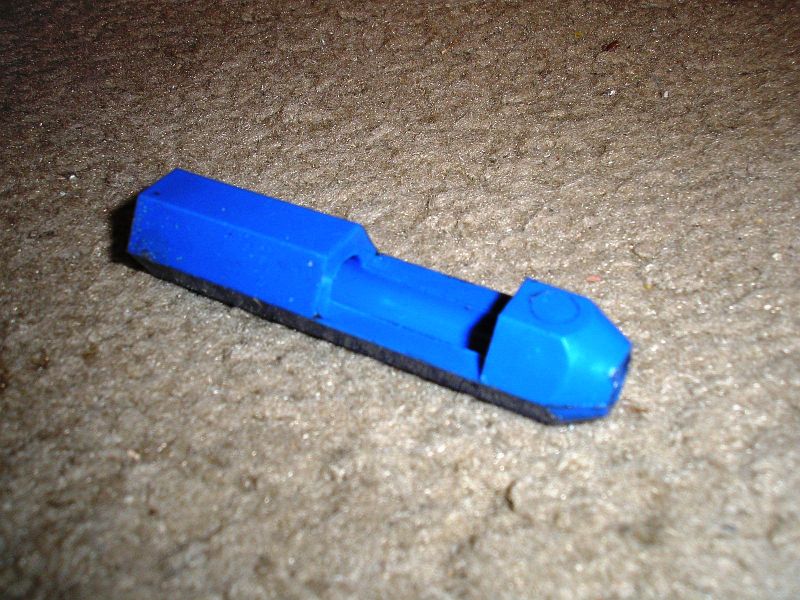
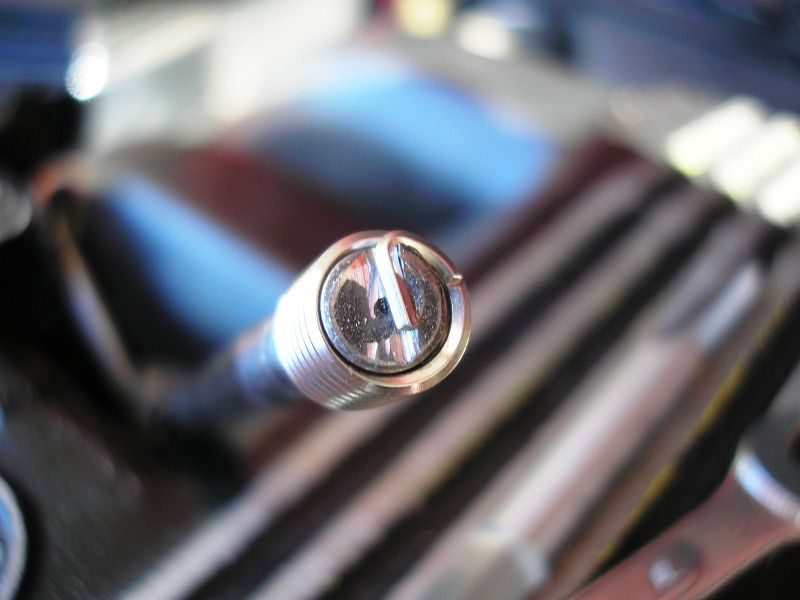
If your kit came with one of these plastic "pre-threader" devices, throw it in the trash. It caused me to break a couple of the inserts as it held them far too tightly. The metal insertion tool was also pretty junky. The little hook on the end was cheaply made and broke the tangs off of a couple inserts before they were inserted all the way. Use a small file to reshape the hook so that it grips the tang as close to the outside as possible. If it is grabbing near the center, it WILL break the tang off prematurely! The picture to the right shows how it SHOULD hold the inserts.

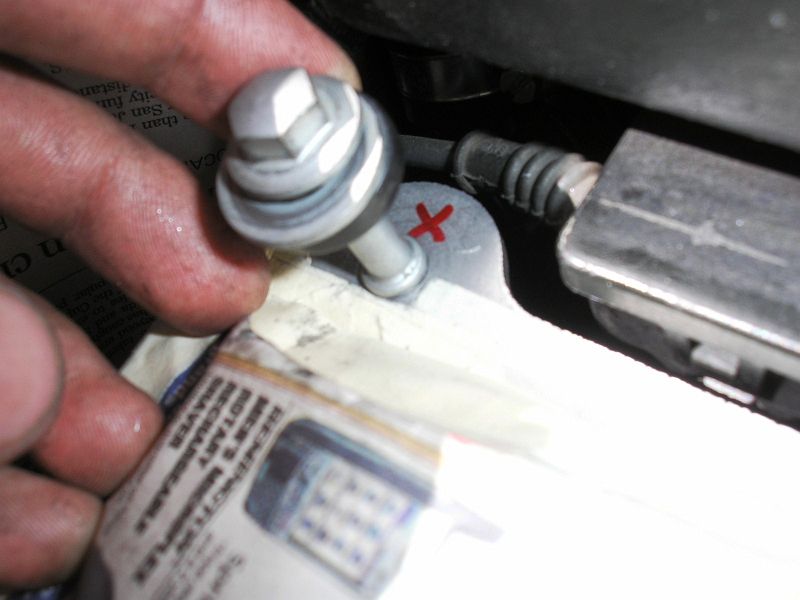
Now install the thread inserts. Do it carefully so as not to damage the insert. Drive it until the top of it is roughly 2mm below the top. Next, get a small screwdriver and use it to bend the tang outward at the bottom of the installed insert. Chase the insert with a valve cover bolt to make sure the tang is pushed out of the way.

So there you have it! Your valve cover bolts should now be able to do their job and keep everything secure. Remember, patience is key here, as is lots of cutting oil. Sending time masking things and degreasing them also pays off!

DISCLAIMER: I take no responsibility (and thus I cannot be held responsible) for damages and/or injuries caused by attempting the procedures outlined on this site. The information provided is to be used at the reader's discretion and all necessary safety precautions requiring emplacement (mentioned or not) are the responsibility of the reader.