


Refinishing the Side/Rear PVC Paint
Abstract
Eventually, the black PVC coating on the side rocker panels and rear valence will get very old and look as such. Depending on the climate in which your car resides, it may not be a big deal as far as rust prevention since there is still paint & electrostatic primer under the coating, but scuffed rocker paint still looks bad! Should you decide that it needs a little refreshing, set aside 2-3 hours on a weekend, preferably with low humidity and temperatures above 65F. Do not do this indoors unless you are in a properly ventilated paint shop; the fumes are very potent and can cause harm to you!
Tools
6mm Allen Wrench
Old Toothbrush
Small Container
Required Parts
Blue or Green Masking Tape
Old Newspaper
Old Coat Hanger
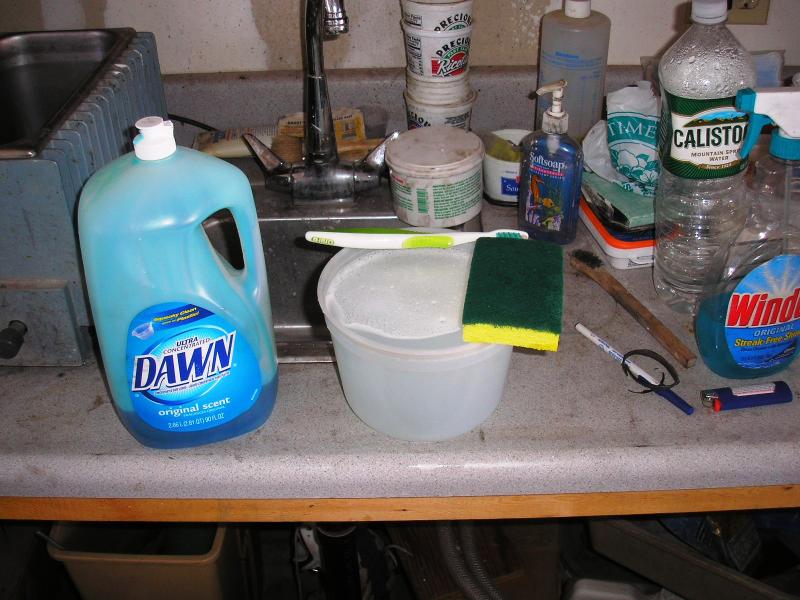
Dish Scrub Pad
Dish/Car Wash Soap
1 - 2 Cans of Rubberized Underbody Paint
Procedure
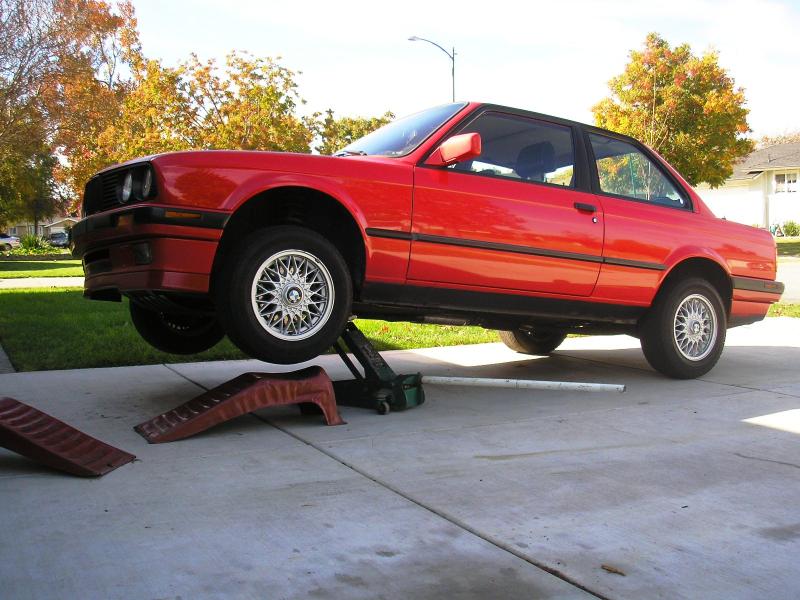

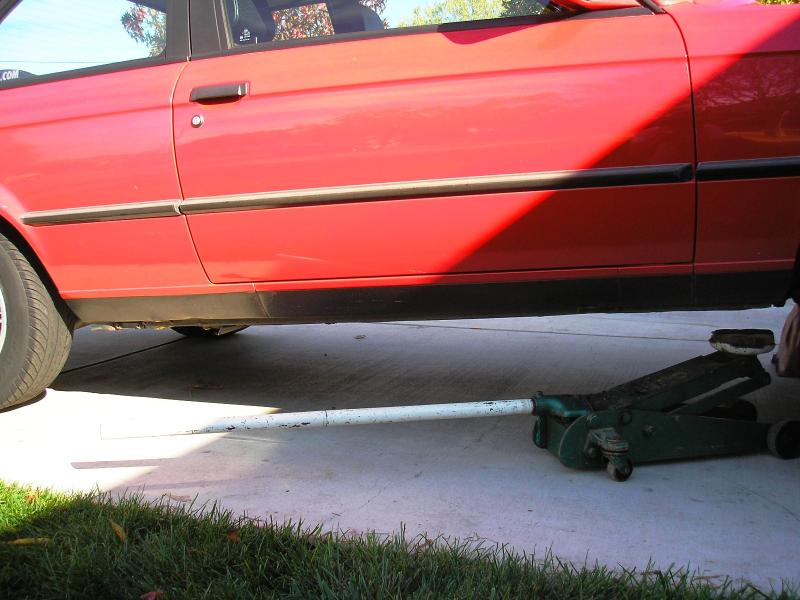
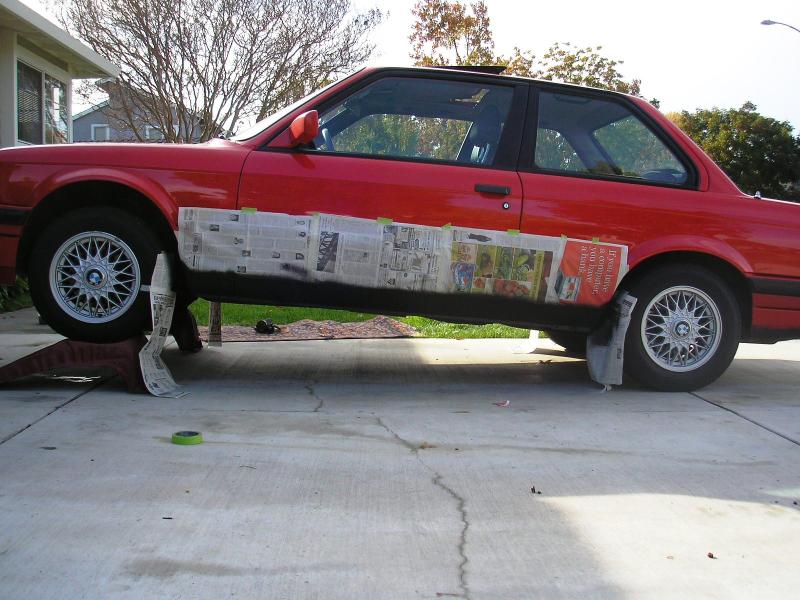
It is preferable to jack under the front crossmember. I have a factory skid plate installed which makes this difficult. At any rate, once the car is properly supported, begin doing some cleaning. Using the rough side of a dish pad and some hot soapy water, scrub down the area to be painted. Do a thorough job as any encrusted dirt will create an even bigger lump under the new paint. If you have the time and energy, you can remove all of the old paint with the pad. At the very least, roughen up the old paint and rid it of any grease and obvious loose dirt.
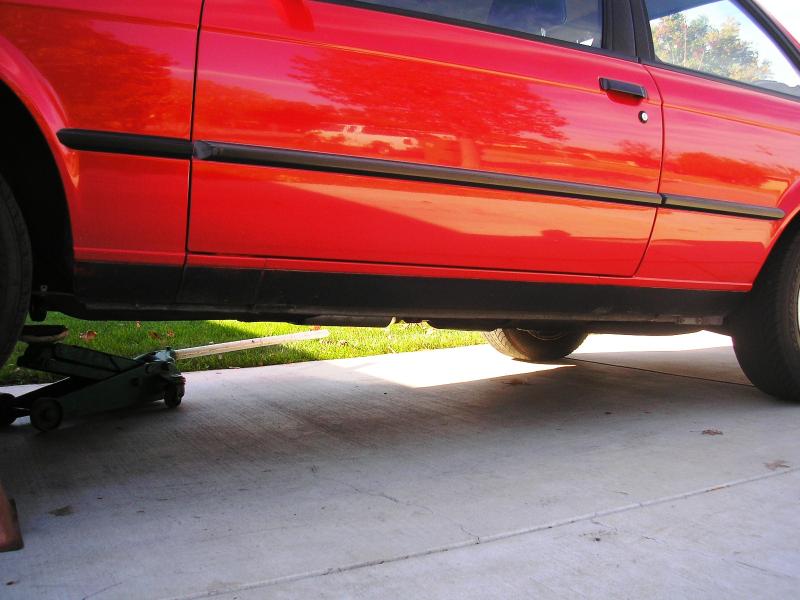
Before you begin masking, you can opt to remove the two brackets that hold the subframe to the sides. You can paint over them, but it makes a mess should you ever want to remove them after painting. A 6mm Allen wrench is needed to get the screws out. To mask, use 16" strips of masking tape to keep it all manageable. Secure it along the preceived line of the old paint, which is right at the beginning of the small outward protruding accent strip in the bodywork. Only attach the tape along its bottom half, leaving the top open so newspaper can later be added. Once all the tape is on the desired line, just stick newspaper between the body and the exposed half of the tape and press it into a seal. Take your time with the masking. The results can only be as good as the prep-work allows, and paint is easy to bungle up! When painting, hold the can at the distance recommended in the instructions. Apply 2 to 3 light coats or until everything is thoroughly coated. A thick coat can run as this paint is heavy stuff!

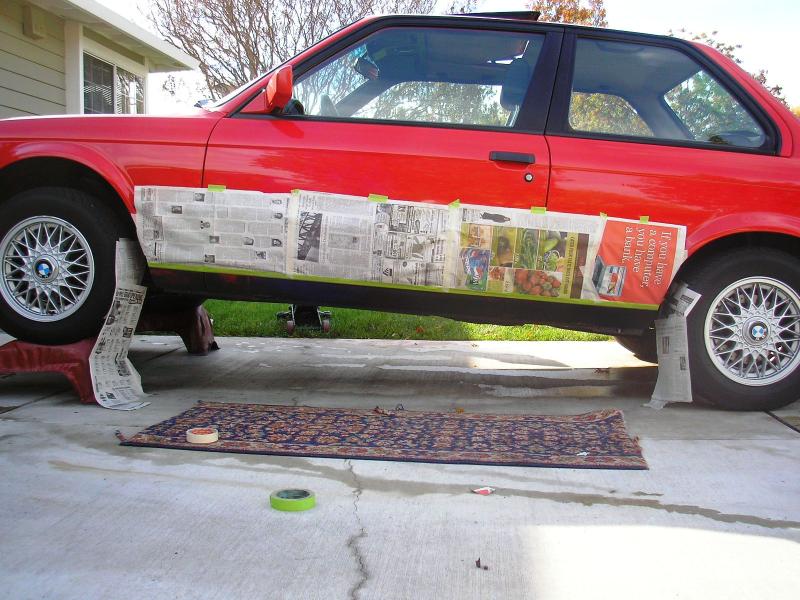

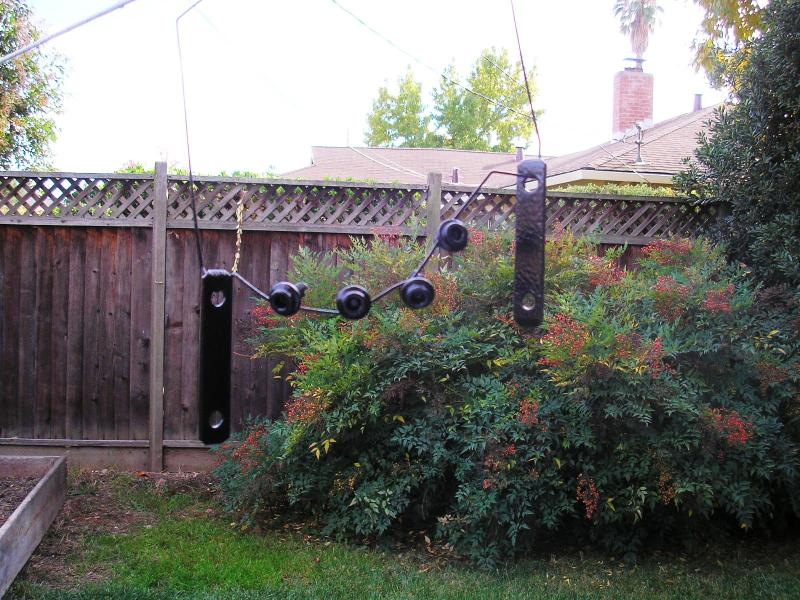
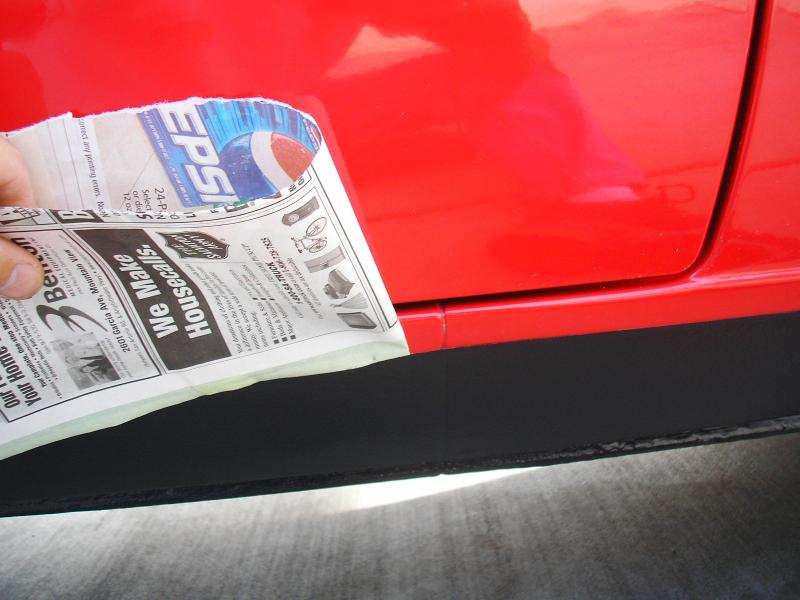
Should you want to, you can use an old coat hanger and bend it to hold the subframe brackets for painting. The paint on mine was chiped and worn looking, so I sprayed them down. Now, the follies of painting screw heads are well known, but it was worth a shot. I have a full Metric tap and die set, so I was not concerned about gumming up the threads. You can do this after applying the coats to the two sides and are waiting for them to dry. Removing the masking requires care and patience. The paint should be allowed to dry for at least an hour before removing the tape. When removing it, pull the paper as shown in the picture below, keeping a sharp angle at the release point to minimize the chances of the tape taking off large chunks of paint or distorting any soft spots. Optimally, have the tape angled upward while pulling, away from the painted area for a better release. Taking a picture and pulling at the same time is not a good plan!
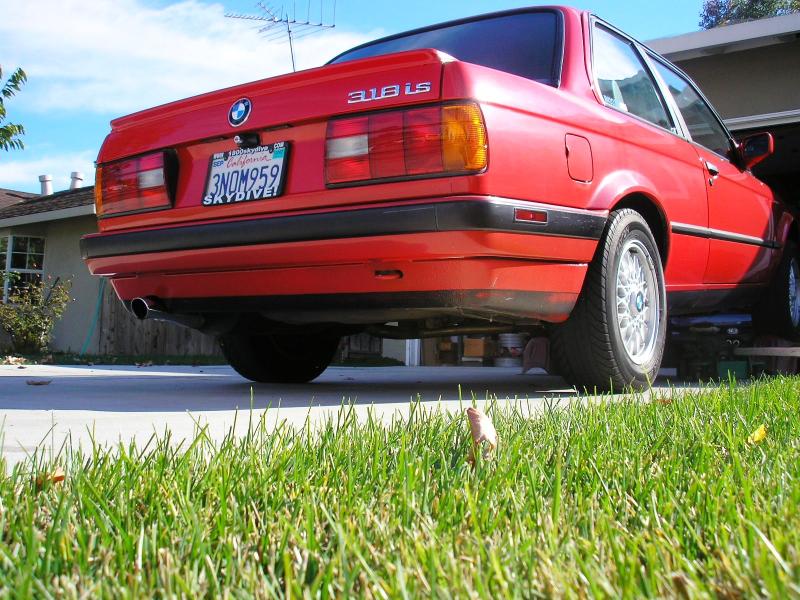
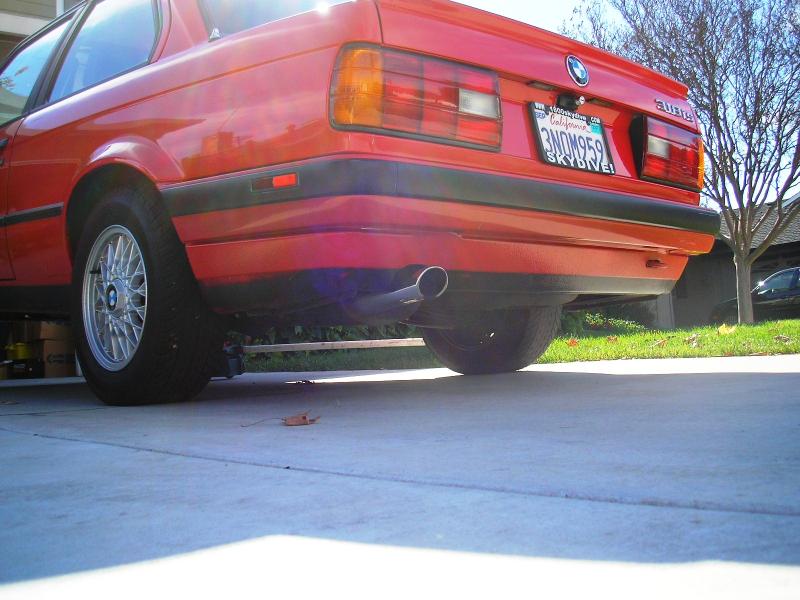
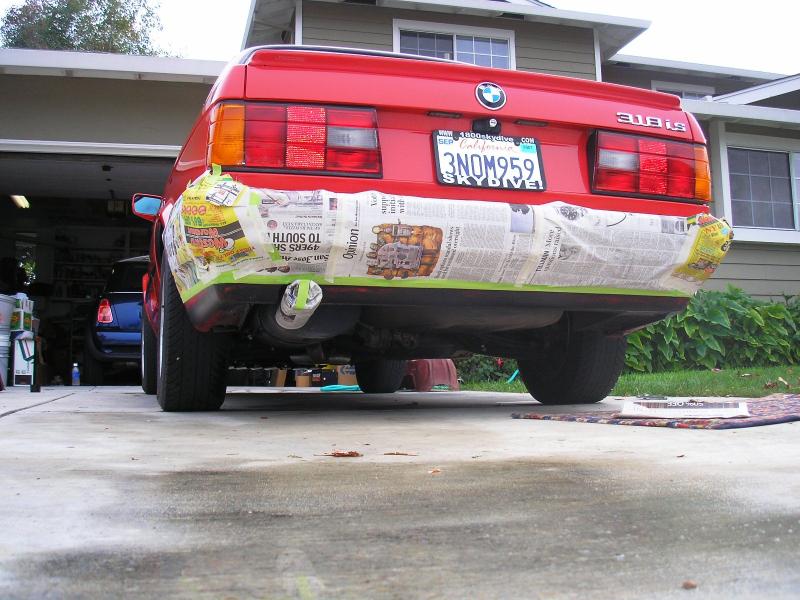
Take the car off of the stands when doing the rear valence. Thoroughly mask the area along the natural line formed by the bend in the metal. Take care to avoid getting paint on the muffler as well. When you are finished, the car should look a lot better!

Conclusions & Results
This is a relatively straightforward procedure, and will make the car look a lot better. Having a nice clean line of paint and no scuffs refreshes the vehicle's look considerably.
DISCLAIMER: I take no responsibility (and thus I cannot be held responsible) for damages and/or injuries caused by attempting the procedures outlined on this site. The information provided is to be used at the reader's discretion and all necessary safety precautions requiring emplacement (mentioned or not) are the responsibility of the reader.