


Installing a Rear View Mirror with Map Lights
Abstract
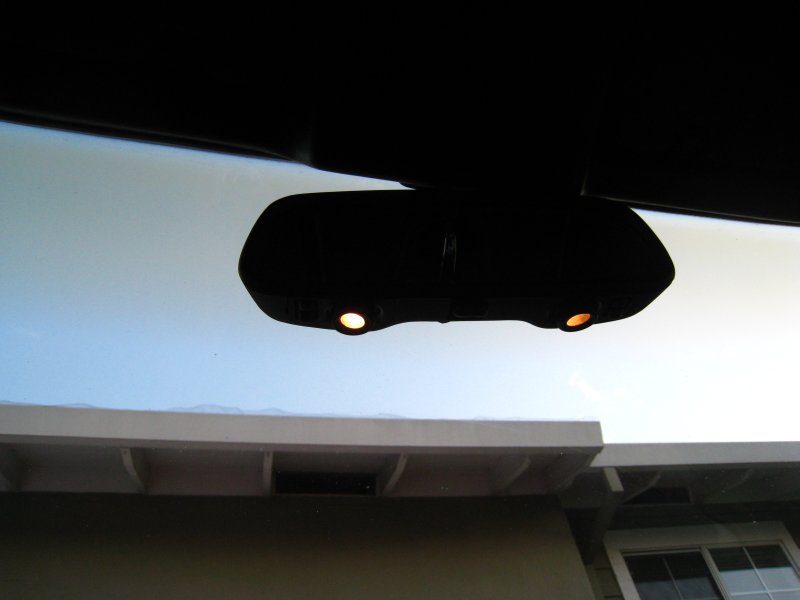
As almost any E30 owner knows, the stock dome lights are not the most useful things in the car. If you have ever actually NEEDED light in the car at night, they are only marginally better than no lights at all. One nice way to get better light output is to install a factory-option rear view mirror that has map lights built into it. It is a fairly easy job to install one, and this article will show you how.
Tools
Medium flat blade screwdriver
Medium Phillips screwdriver
Wire cutters / dykes
Connector crimpers
Wire strippers
Required Parts
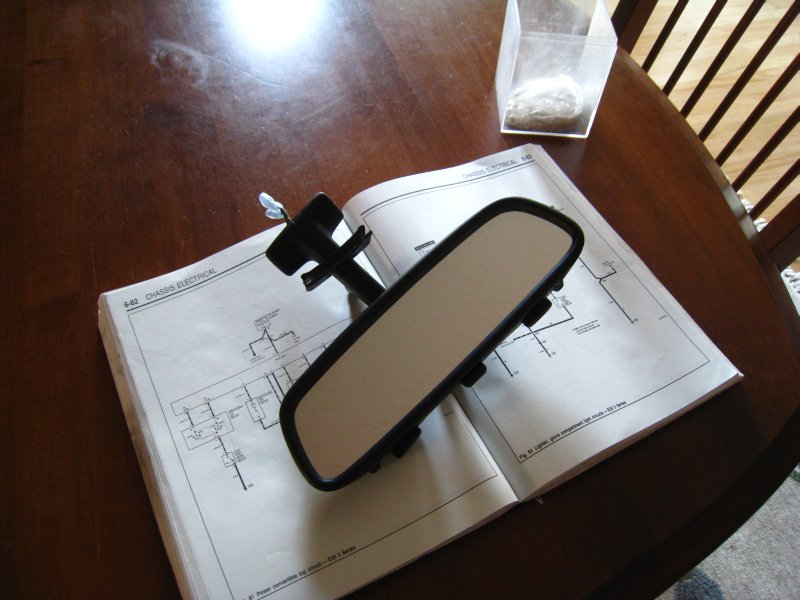
E30 rear view mirror with map lights
6ft of 18ga hook-up wire (dual conductor)
Fully insulated 18-22ga spade connectors (crimp type)
Procedure
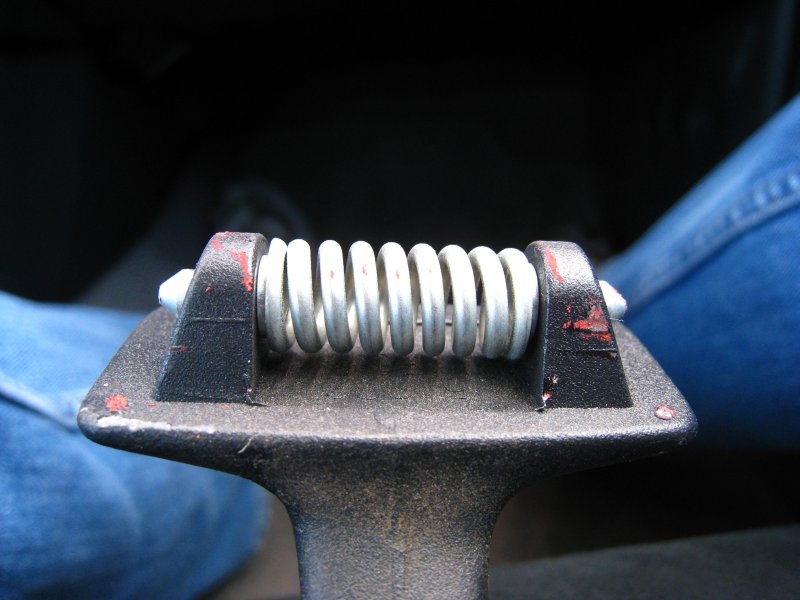
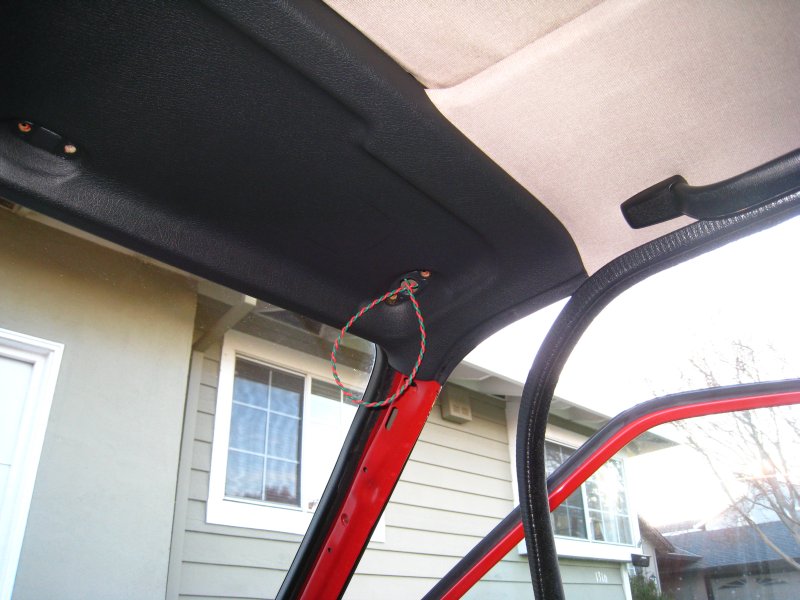
You start by removing the check panel. Lightly pry it out with a flat blade screwdriver and disconnect it. Removal of the rear view mirror is simple, but it does require a fair amount of brute strength. Rock the mirror side-to-side. Pushing it hard enough should pop the spring-loaded retainer loose. When it is free, remove it and the rubber grommet on the mirror stalk. The fourth picture shows how it is secured; spring-loaded pins stick into the chassis and simply neded to be popped loose.


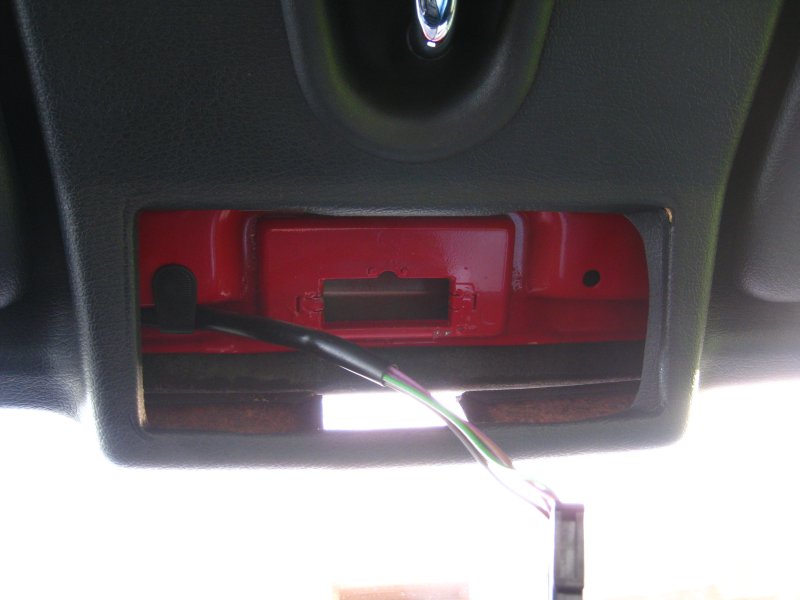
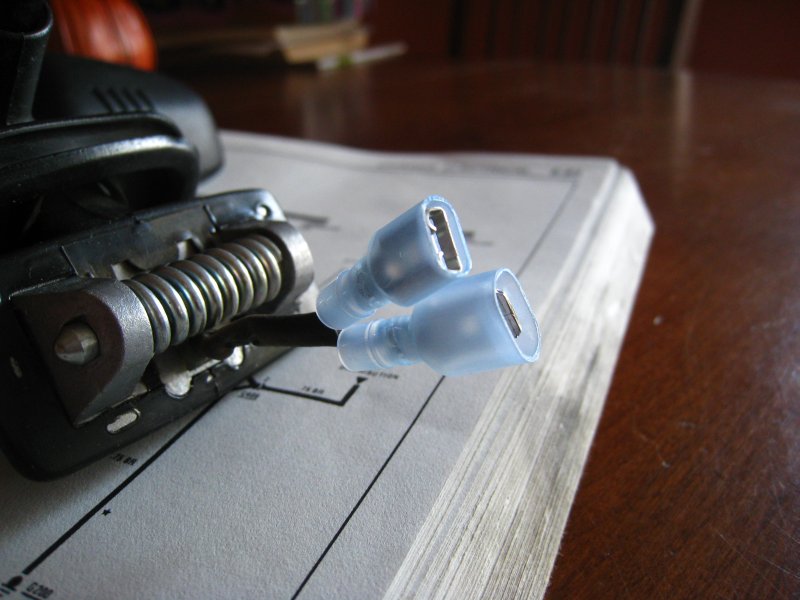
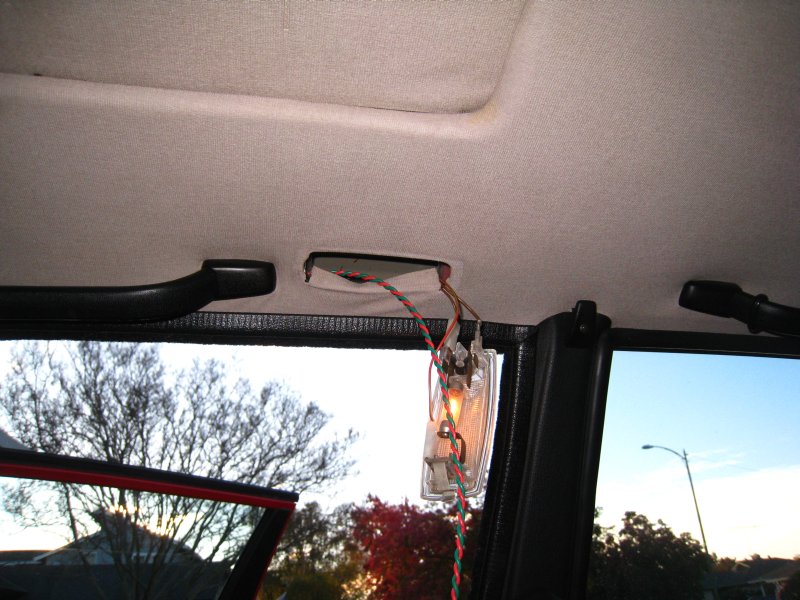
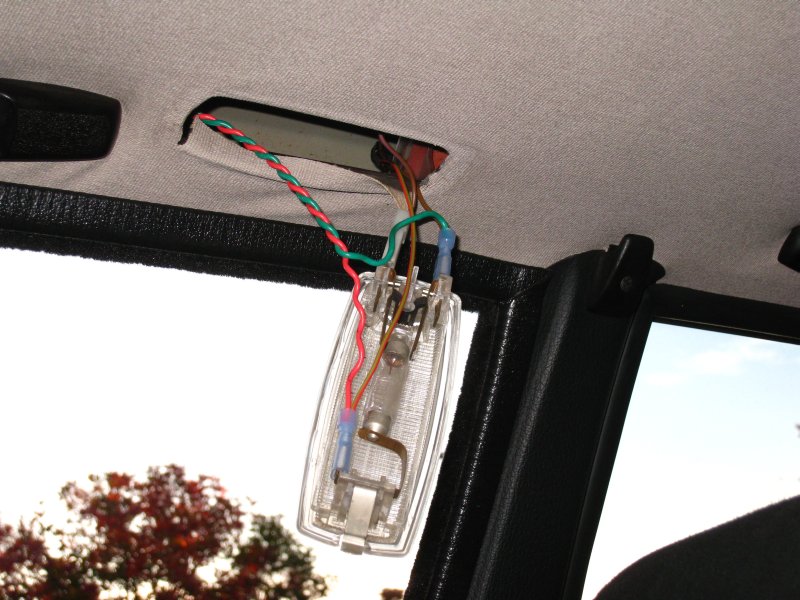
Next, you will need to take care of the electrical portion. Those with cars outfitted with the full check panel may be able to do this differently. I decided to connect the map lights to a constant-hot 12V so that the lights could be turned on at any time. Fully insulated spade connectors were crimped onto the map light wires since I had nothing to plug into the stock connector. The new power wiring was made from two 18ga hook-up wire strands, twisted together with a drill. You will want to remove the passenger's side (or driver's side if you prefer) sun visor and dome light. Push the new wire through the opening that the mirror seats in until you can pull it out of the larger visor hole. Route the end back through there and along the chassis until it can be pulled out by the dome light and then pull th eloop up through the visor hole. The dome light's red/green wire is a constant 12V wire, and the solid brown one is grounded. The striped brown one is switched by the door and you do not want to use that. I cut the stock spade receptacles off, stripped the wires and twisted them together before crimping new receptacles on. You can see how it was arranged in the sixth picture. Crimp the remaining connectors on to connect the mirror.

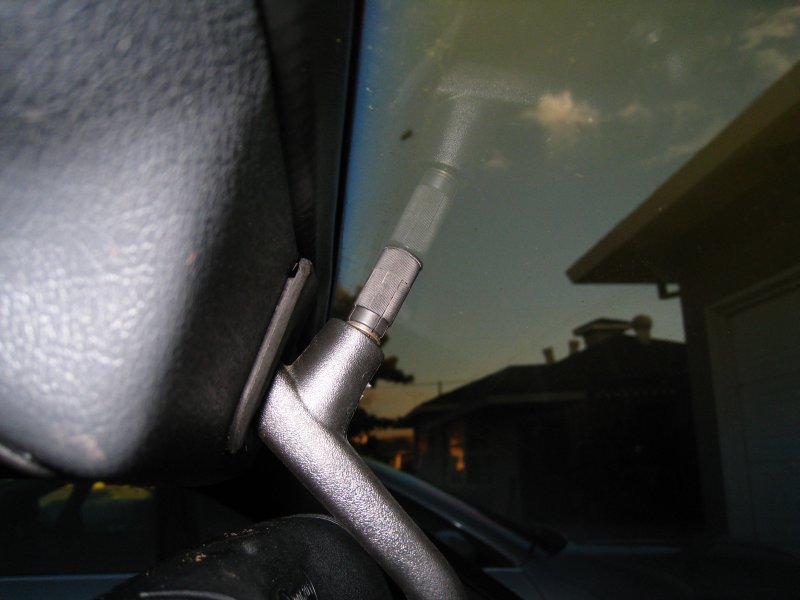
You are almost done now. The last step is inserting the new mirror into the chassis. This will require some strength. Start with one side inserted, and push firmly to get the other one to pop in. Make sure that the wiring is not going to get pinched or jammed. Once you do this, put the check panel & dome light back, and you are almost done. Make sure that the mirror assembly has the rubber set screw in it. This mirror is heavier, and prone to vibration while driving. You will need to adjust the screw so that the rubber stopper is firmly against the windshield to prevent vibration. Don't forget to put the sun visor back either. You may notice that some of the A-pillar trim and weather stripping were pulled down in some photos. You do not need to do any of that. I had been experimenting with alternate power sources for the lights, and the dome lights were the easiest source. They are also fused appropriately for this application.

DISCLAIMER: I take no responsibility (and thus I cannot be held responsible) for damages and/or injuries caused by attempting the procedures outlined on this site. The information provided is to be used at the reader's discretion and all necessary safety precautions requiring emplacement (mentioned or not) are the responsibility of the reader.