


Rebuilding The Driver's Side Door Lock
Abstract
Eventually the driver's side door lock stops working properly. Most people will have trouble locking the door when the assembly fails, and notice that the security-lock feature ceases to work. If you are finding that the central locking system is not behaving properly (able to lock/unlock all doors from the trunk, but not able to unlock the passenger's side door, etc.), it is most likely because the parts in the driver's side door lock assembly are worn out. Rebuilding the assembly costs about $35 and takes less than an hour. This article will show you how to do it.
Tools
Medium Phillips Screwdriver
Small Flat Blade Screwdriver
Needle Nosed Pliers
Small Dead-Blow Hammer
2mm Diameter Nail or Brad
Pen & Paper
Required Parts
Driver's Door Lock Rebuild Kit [PN 51-21-9-061-343]
Procedure
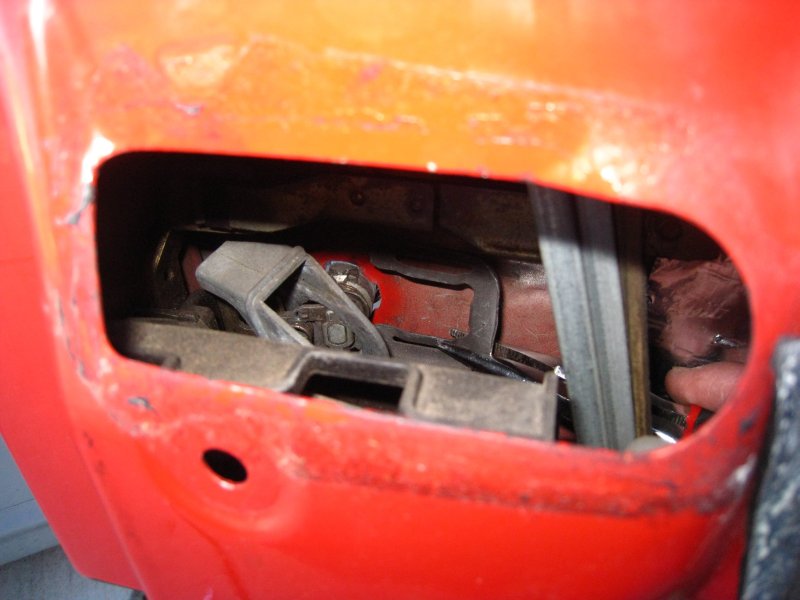
Start by removing the door panel. It is held on by three screws in the arm rest (one is behind the power mirror control that can be popped out with a small flat blade screwdriver). Remove the mirror control, the door handle trim (firmly push it toward the rear of the car) & the lock knob (unscrew it). Carefully pull on the door panel, popping the panel clips out one at a time. When that is done, lift up on it and it will come off. Underneath it you will see that a plastic vapor barrier seals off the inside of the door. Carefully peel it back near the door lock. There is also a small cover under the lock rod. It can be helpful to remove that as well.
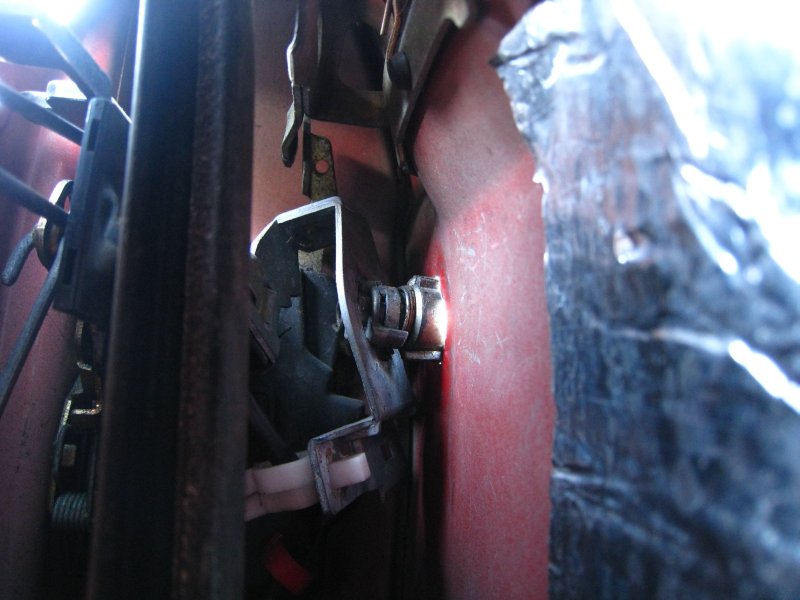
In order to get the lock out, you must remove one large clip. I found that the easiest way to do this was by reaching inside the door with some needle nosed pliers. Prying on it with a screwdriver just seemed to put a lot of undue force on the other parts in there (that aren't being replaced). Grab and pull. It will come loose. Set it aside once you get it off. The lock will now slide out. You will need to gently work it out of the bracket and out the hole in the door. Do not force anything.


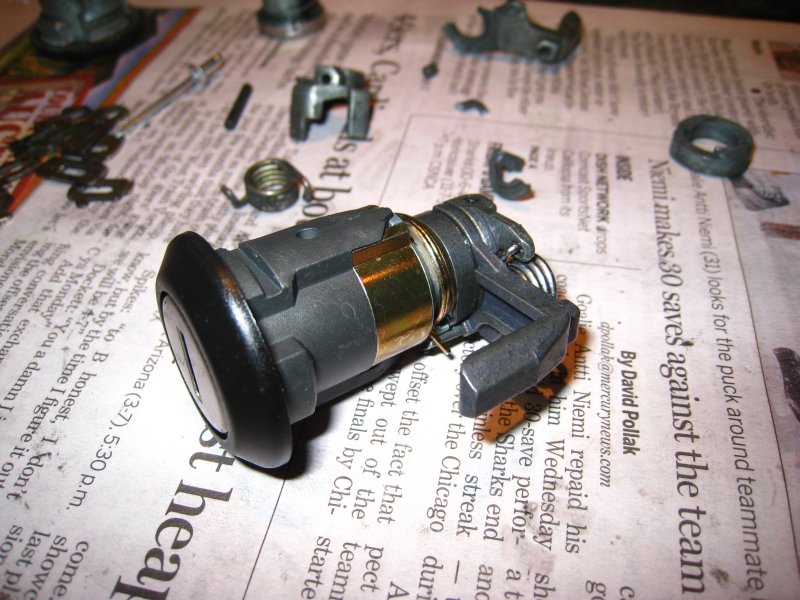
Once the assembly is out of the car, you can start working on disassembling it. Take a good look at how it all goes together first. Also notice that inserting the key holds the little tumblers down. This is important. Keep the key inserted throughout this process. The tumblers are coded and spring loaded. They will go flying out, and you really don't want to try to figure out the right combination by trial & error.

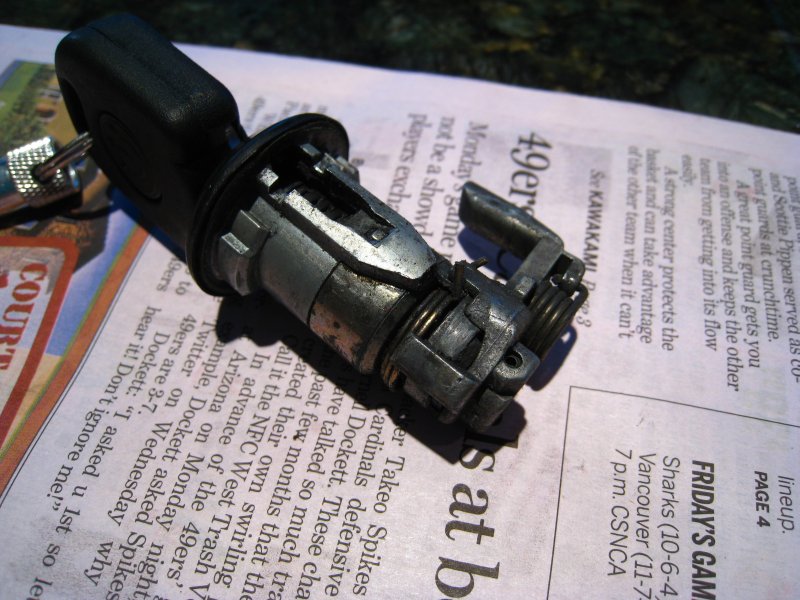

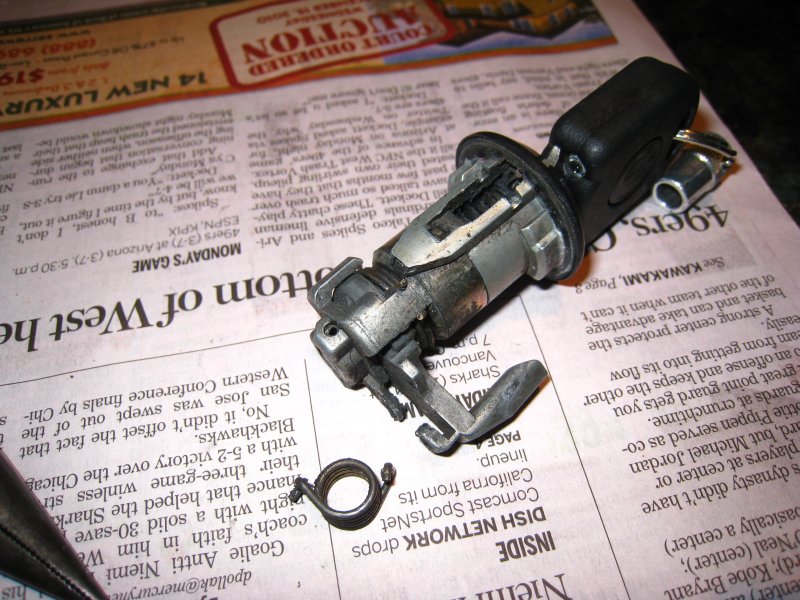
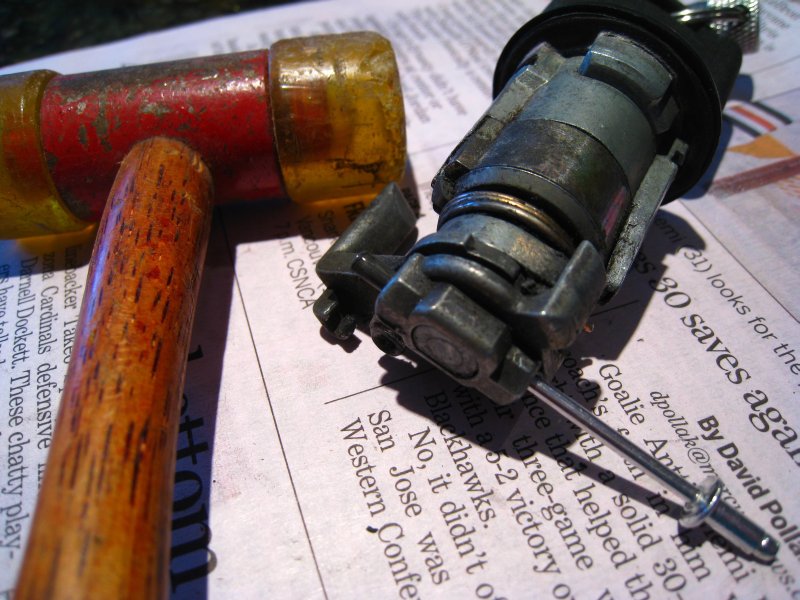
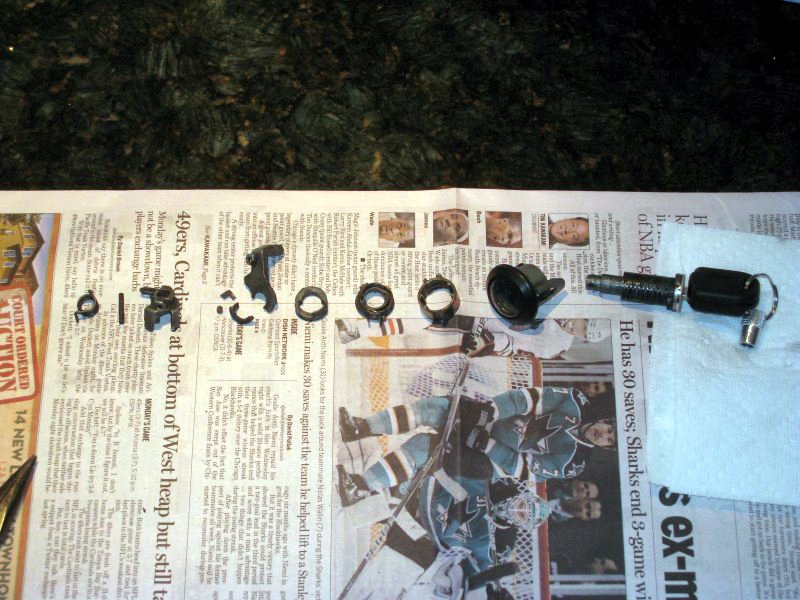
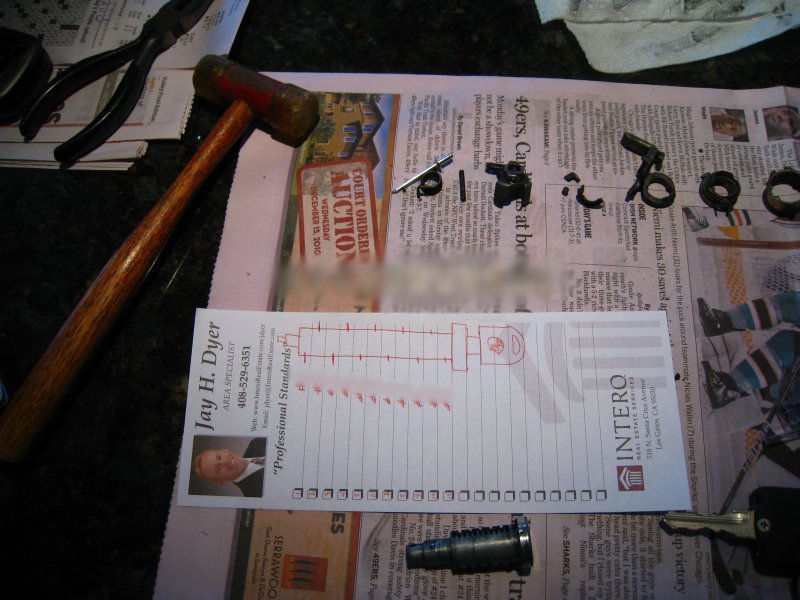
To start the disassembly, remove the torsion spring on the end. Once this is out, use a 2mm nail or brad, along with a small dead-blow hammer to knock the retaining pin out. With these two steps out of the way, you can take it the the rest of they way apart. There isn't anything tricky about it. Things may be a little sticky, but that's it. Remember: do not under any circumstances remove the key from the lock cylinder (yet)!
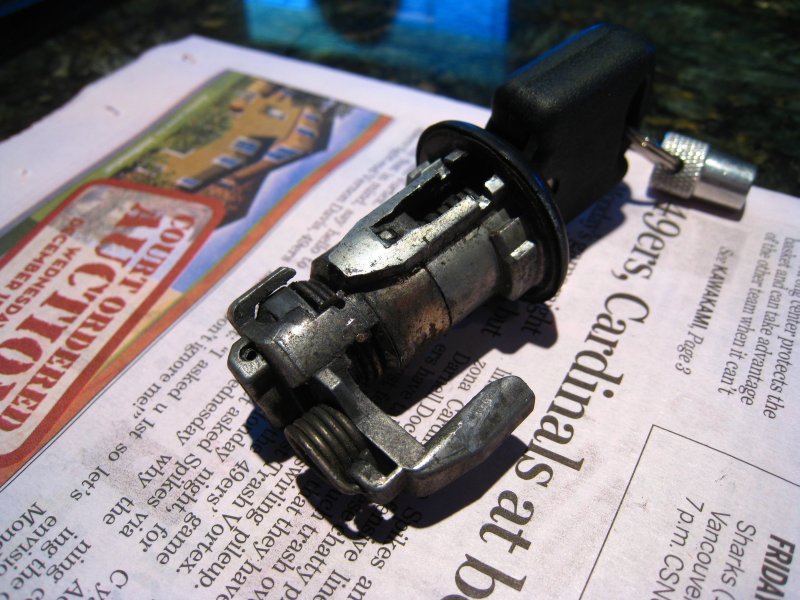
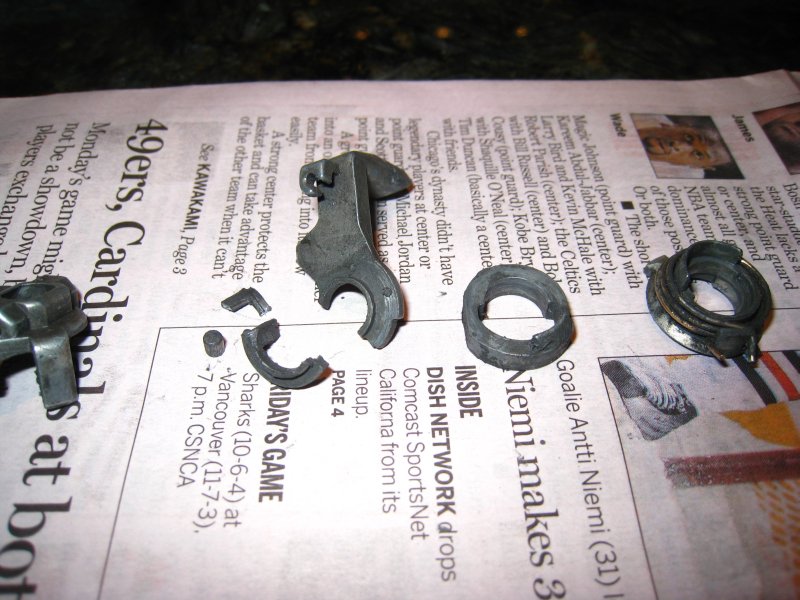
In my case, the lock troubles I was having were due to a broken piece that prevented the lock arm from from pushing the lock actuator down. Some locks fail because of a small ball bearing wearing a groove into another piece. There are probably a number of reasons that these locks stop working.
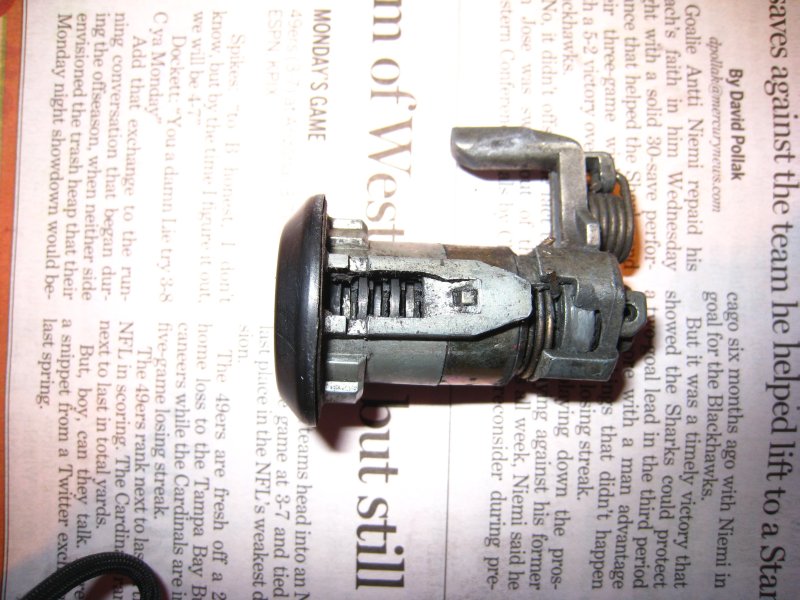
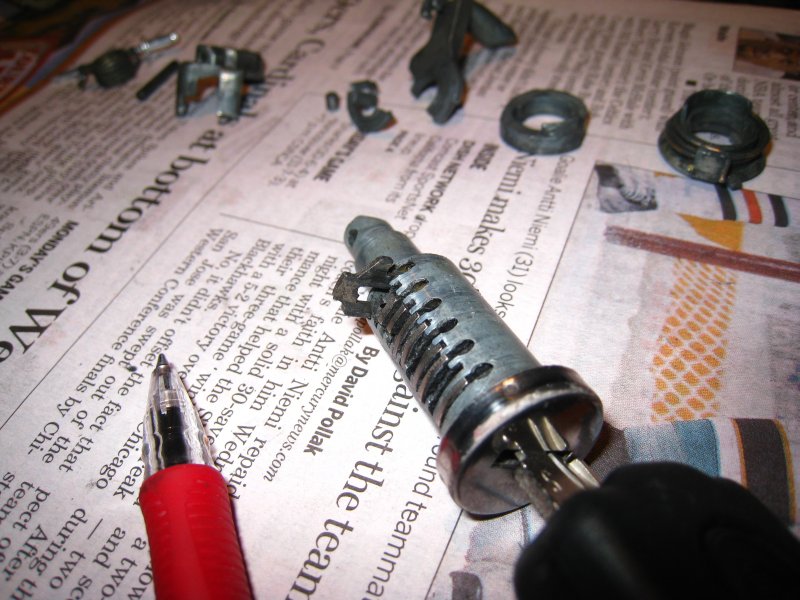
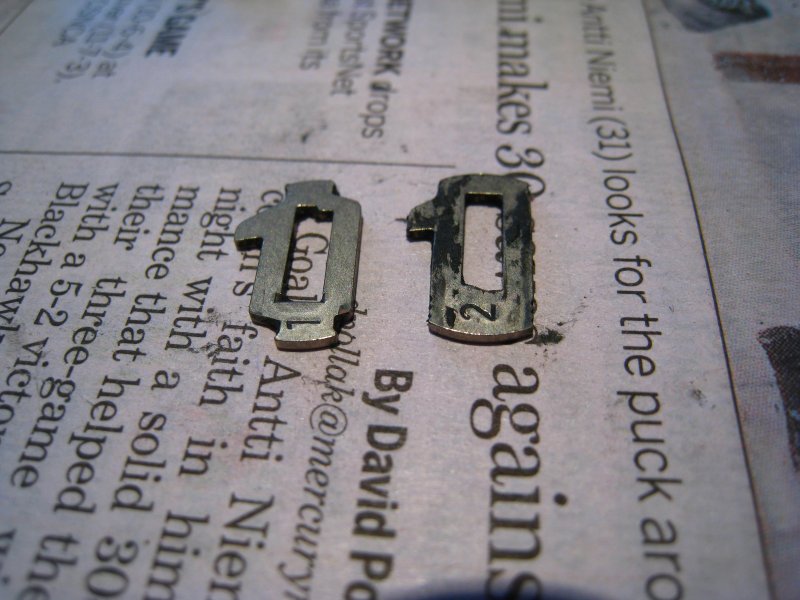
This next part is the first of two tricky ones. You need to remove the lock tumblers, one by one, and record the numbers stamped on them in the proper order. It is a good idea to clean the parts off with some penetrating oil so that you can see what is going where. Tumbler removal can be accomplished by slowly pulling the key out, one space at a time. Keep your finger over the tumblers as you pull the key. They are spring loaded. The first four are small ones, and the last seven are larger. Each will be stamped with a number in the range of one to four. Again, write the number down for each tumbler you remove, one at a time, in order. The replacement tumblers will need to be installed in the same order.
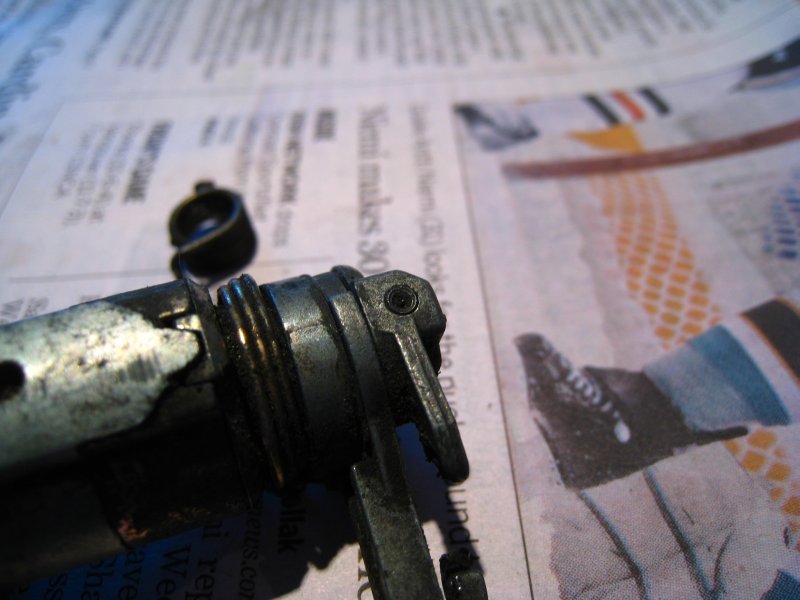
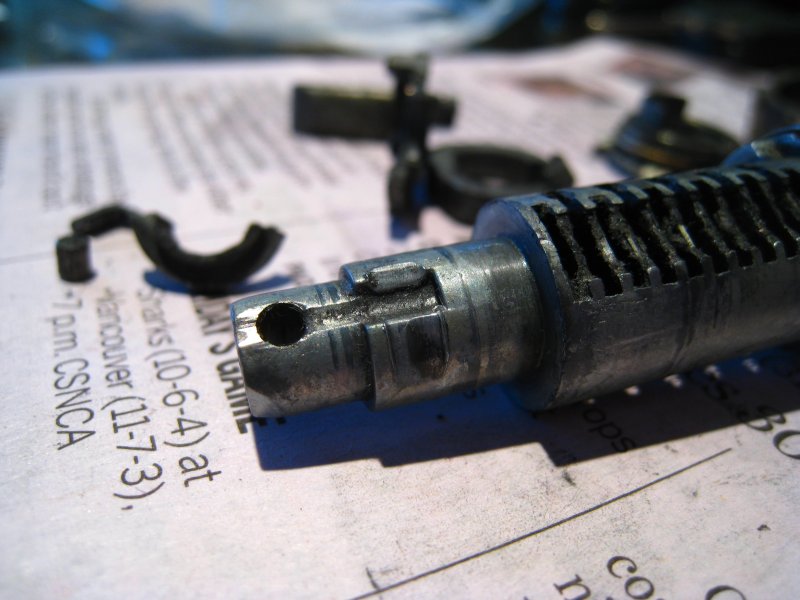
Take a look at the last picture. You can see that the bearing surfaces where the cylindrical roller worked are deformed. The original lock design had a ball bearing in there, and it would wear a deep groove into this part. This would prevent the lock from operating properly. The locks were redesigned some time in the 1990's & to use a cylindrical roller instead, to avoid this problem. If the "solution" led to this much deformation, I can only imagine how much trouble the original design was!


Reassembly is the reverse of disassembly. Installing the new tumblers is the second tricky part, bit it should only take a few minutes. Don't forget to put the little springs (included in the kit) in before you put the new tumblers in. Start with the one closest to the key hole and work back from there, inserting the key as you go. The rebuild kit also included some yellow grease. I did not apply any to the tumblers because, based on what I saw in the old lock, it would only serve to get dirt stuck in them. The lock operates perfectly smoothly without it in there. I did apply some of it to the surfaces of the larger lock parts though, particularly ones that rub on one another. What you do with the grease is up to you, but I usually try not to put it into places that I do not want dirt in.

Conclusions & Results
After I rebuilt the locking mechanism, the central locking system started to behave exactly like it is supposed to. The security lock feature works properly, as do all the other locking points. Locking & unlocking the car from the driver's side door poses no more problems for me, and I am happy to be able to be able to lock the car from this point again. This $35 kit is well worth the time and money.