


Installing an OEM Illuminated Shift Knob
Abstract
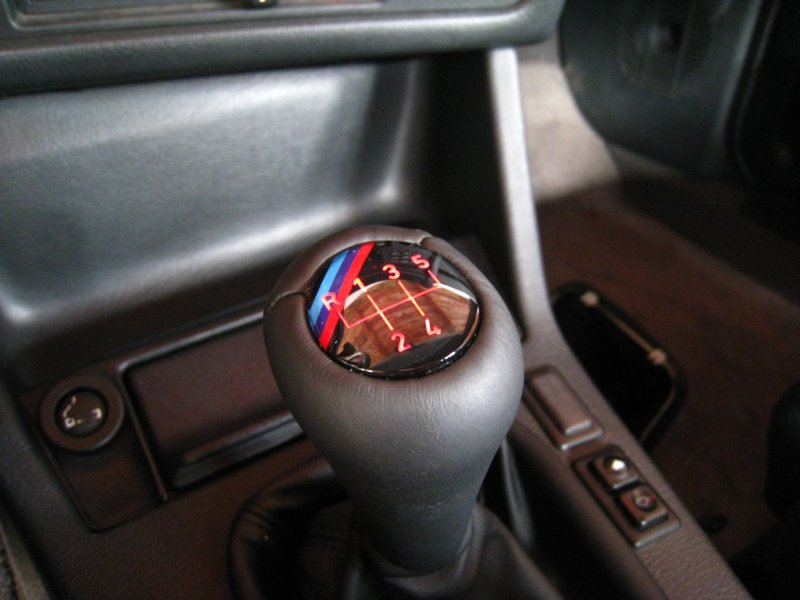
Sometimes, you just feel like spending money on your car, needlessly. If you are feeling that way, then today is your lucky day. Purchasing a BMW illuminated shift knob accessory kit is the perfect way to lighten your pockets while replacing the shift knob and boot. This article will go through the simple process of installing an original BMW illuminated shift knob kit. Please note that the knob illumination is red, and does not match the 605nm orange that the rest of the car is backlit with.
Tools
Medium Phillips Screwdriver
Wire Cutters / Dykes
Wire Strippers
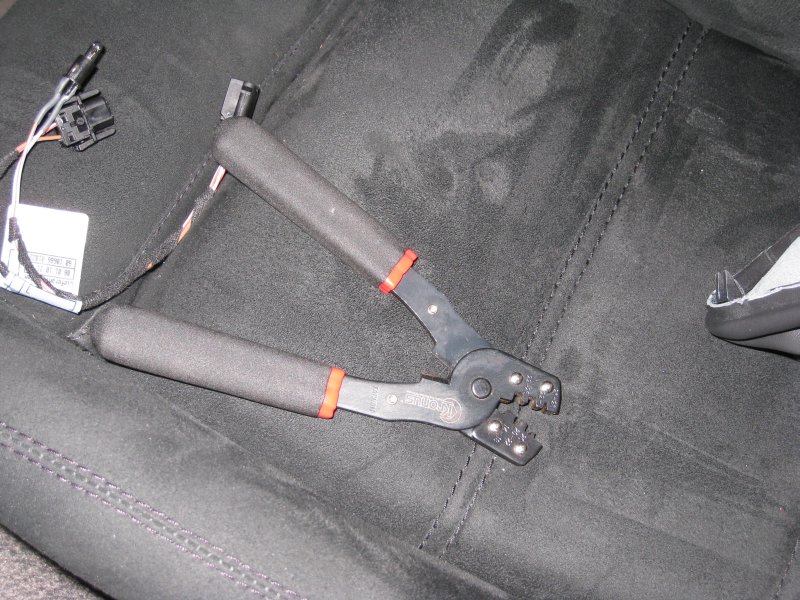
Molex Terminal Crimpers
Parts
BMW Illuminated Shift Knob Kit [PN 25 11 2 231 562]
Procedure
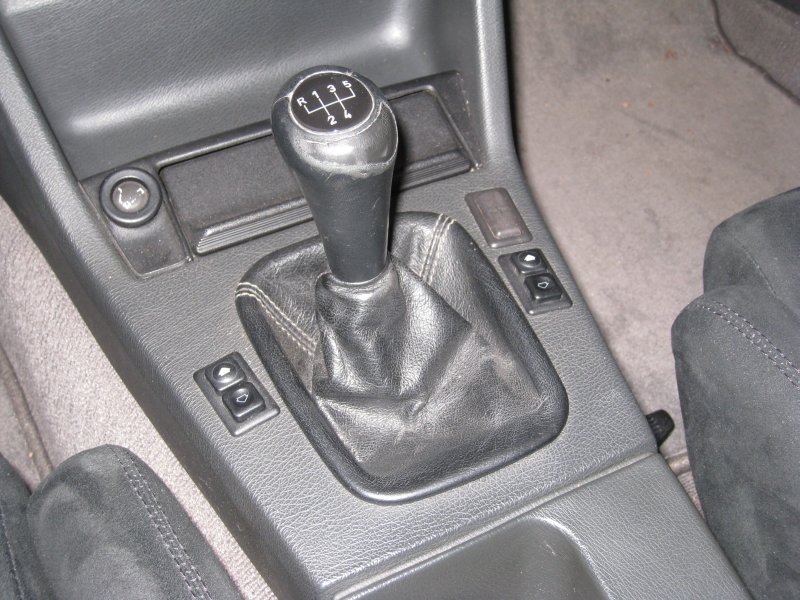
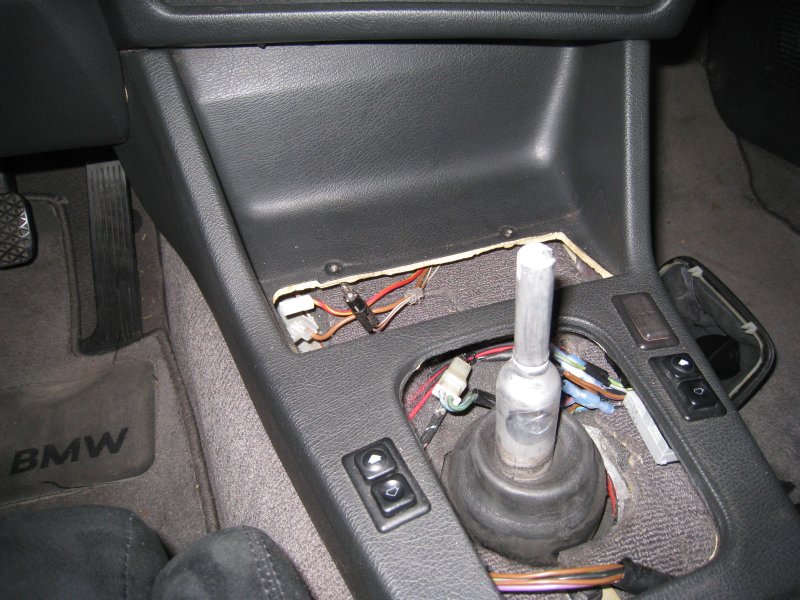
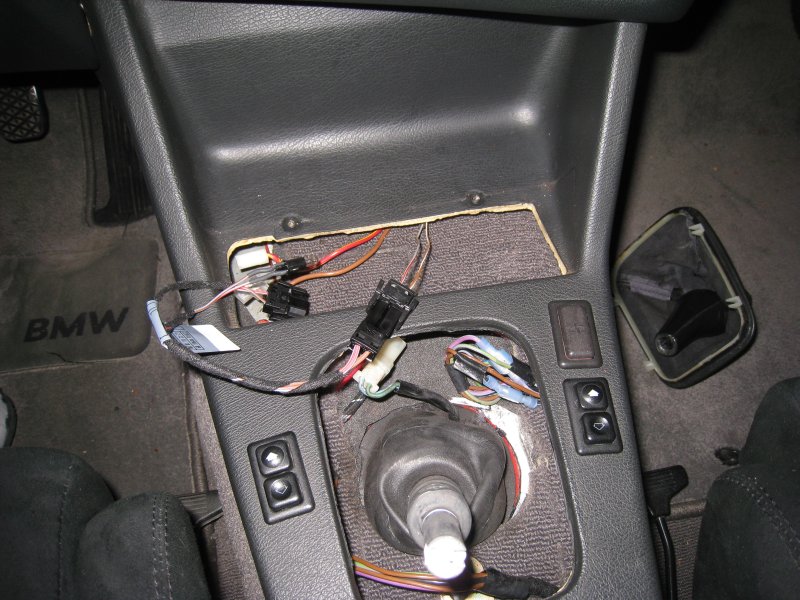
Start by removing your old shift knob, boot and ash tray. The knob comes off with a firm upward pull, the boot can be pried out of the console around the edges, and two phillips screws hold the ash tray in. You will need to disconnect the cigarette lighter and pull the ash tray light out to fully remove it.
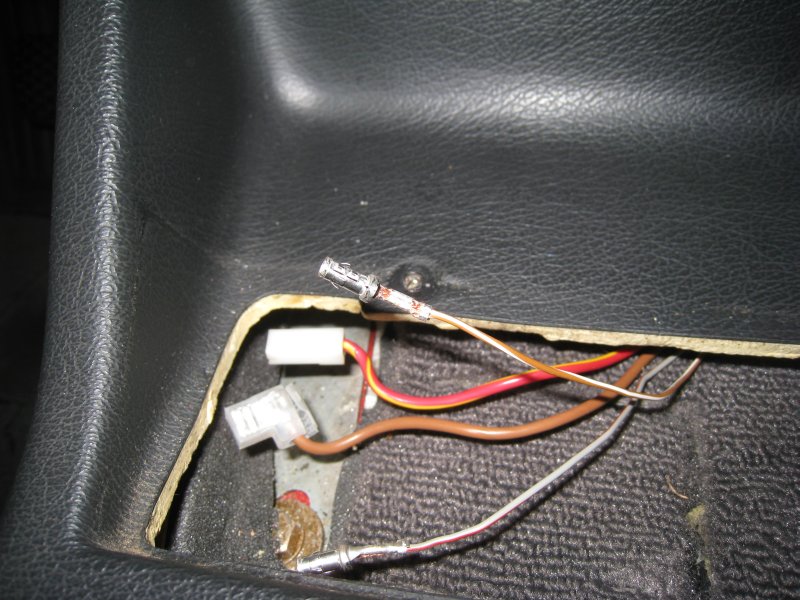
Next, cut the ash tray light's wires. Do this as close to the bulb as possible. Strip the ends and crimp the terminals from the kit onto the ends. Regular butt-splice connector crimpers will not work well for this. The crimpers shown below can be found in many electronic hobby shops. You can also get by with needle nosed pliers. Once the terminals are securely attached to the wires, prepare to insert them into the supplied connector housing. You will really only get one shot, so make darn sure that the wire colors match up (I believe that the knob has an LED inside, so polarity matters). I mated the plastic connector bodies first and inserted the brown/white terminal first, and then the gray/red one. Firmly push them into the housing until they snap into place permanently.
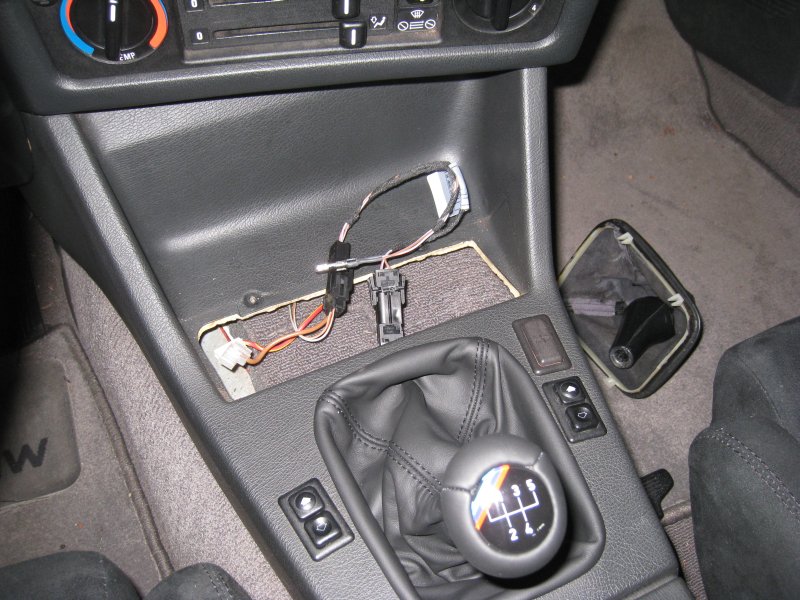
Finally, begin reassembling things. Run the harness from the knob under the console and connect it to the one you just installed from the kit. Tuck the wires neatly under the console and put it all back together. When you are done, turn your headlights on to make sure that the knob and ash tray lights illuminate.
DISCLAIMER: I take no responsibility (and thus I cannot be held responsible) for damages and/or injuries caused by attempting the procedures outlined on this site. The information provided is to be used at the reader's discretion and all necessary safety precautions requiring emplacement (mentioned or not) are the responsibility of the reader.