


Rebuilding Fog Lamps
Abstract
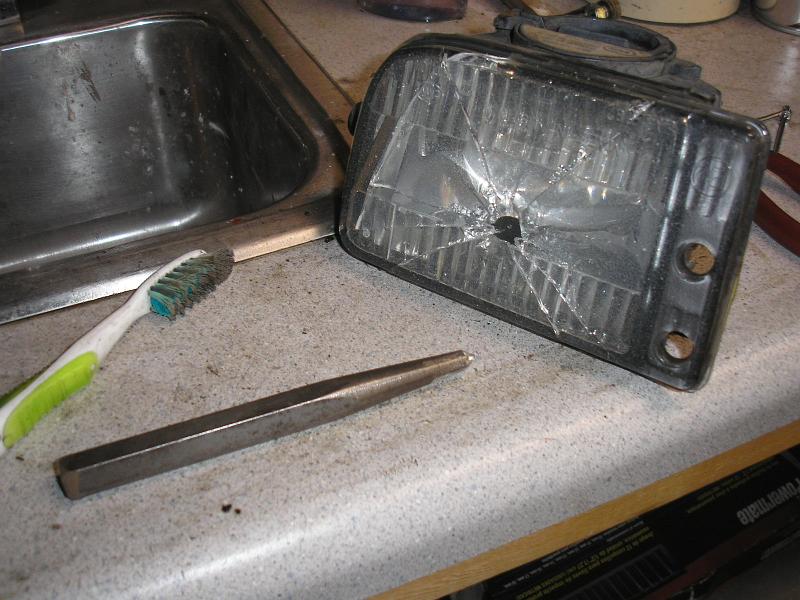
It is inevitable that your car's fog lights will be broken by road debris. Replacing the units is extremely costly, and a waste of parts. For less that a third of the cost of ONE fog lamp unit, you can replace the damaged covers, and add protection. The process is somewhat time consuming, but neither terribly difficult nor expensive.
Tools
Small Flat-Blade Screwdriver
Medium Phillips Screwdriver
Pliers
Center Punch (optional)
Small Hammer
Utility Knife
Required Parts
Original 1989+ E30 Fog Lamp Units
Replacement Fog Lamp Covers (purchased from BMWLight)
Weatherproof Silicone RTV
LaminX Protective Film (20 or 40mil 8"x16" sheet)
Procedure
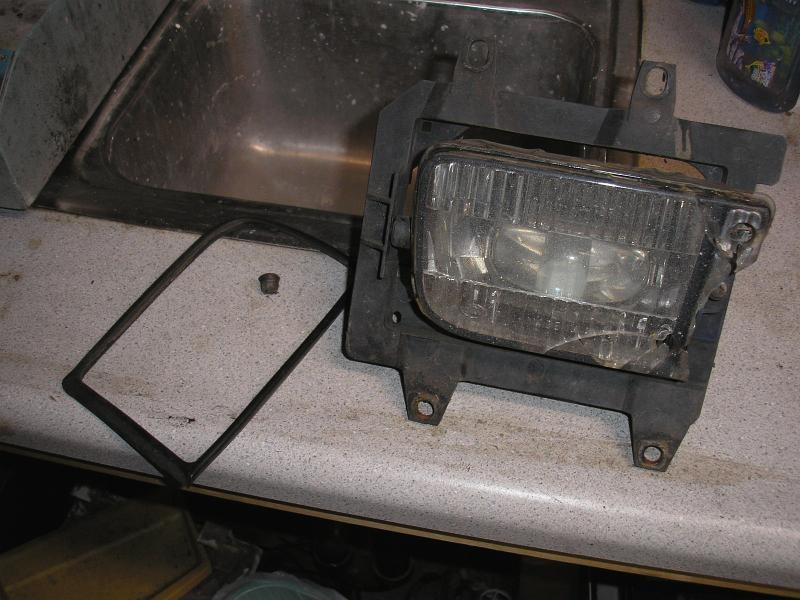
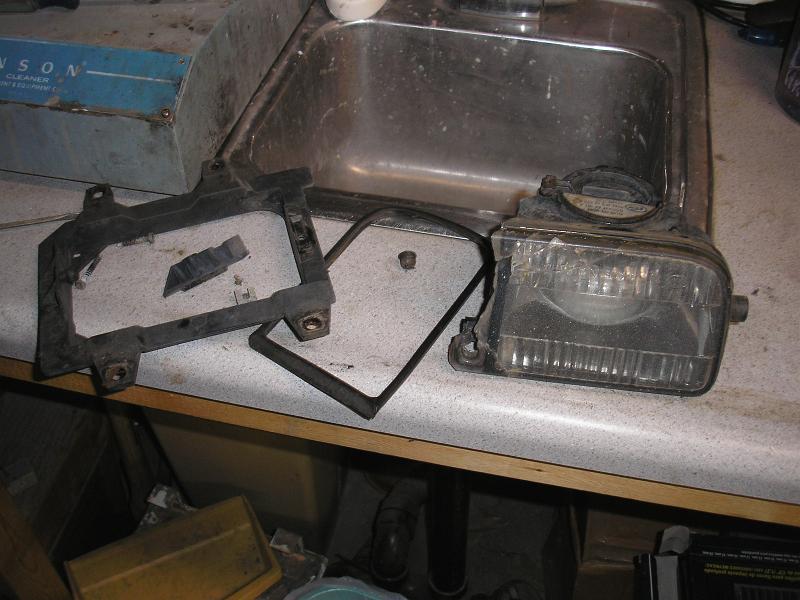
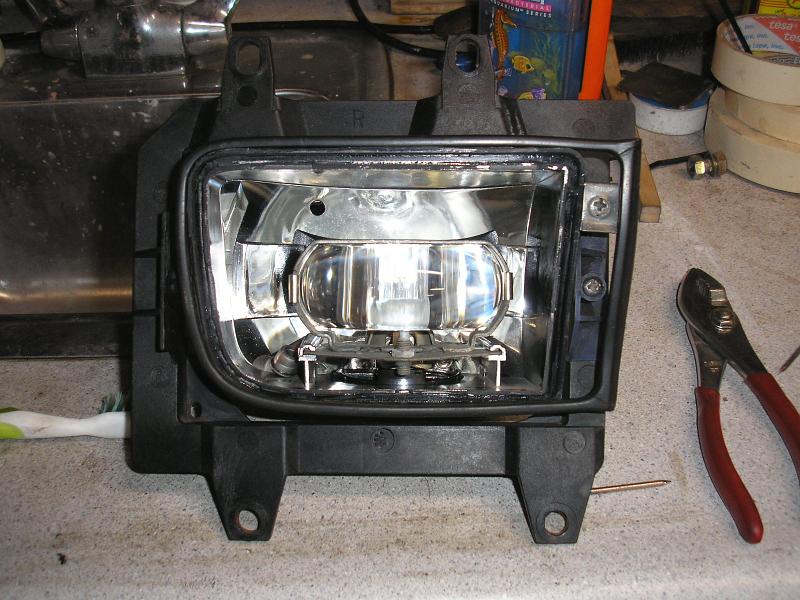
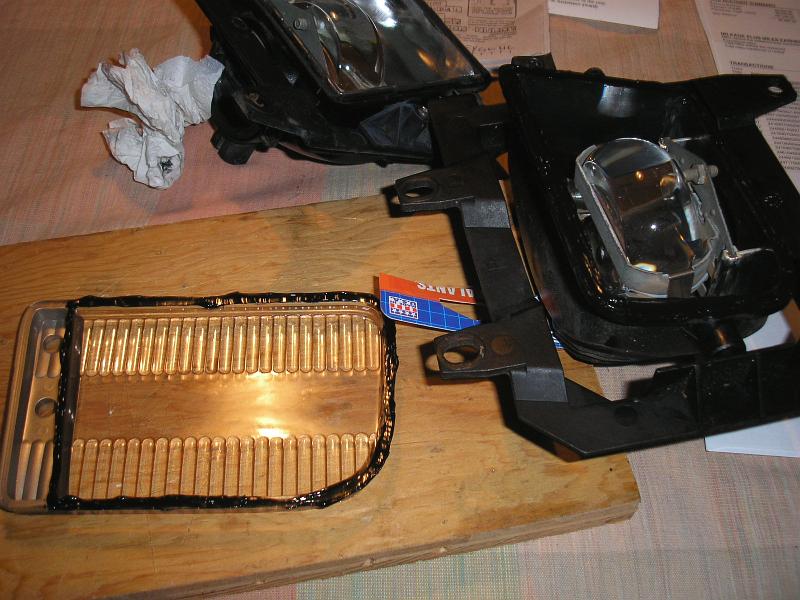
Begin by removing the damaged fog lamp units from the car. They are held on by four plastic 10mm nuts. Remove the rubber trim that sits around the outside of the light covers, then the mounting assembly if you want to clean it all out as well. There are two phillips head screws holding a pivot piece on (on the light's right side as seen in the second picture). From there, finish disassembling the mount.
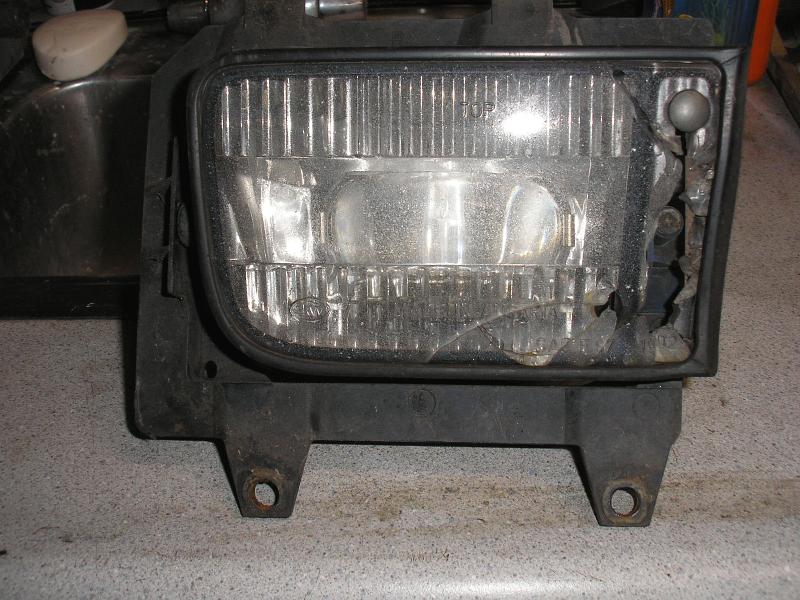
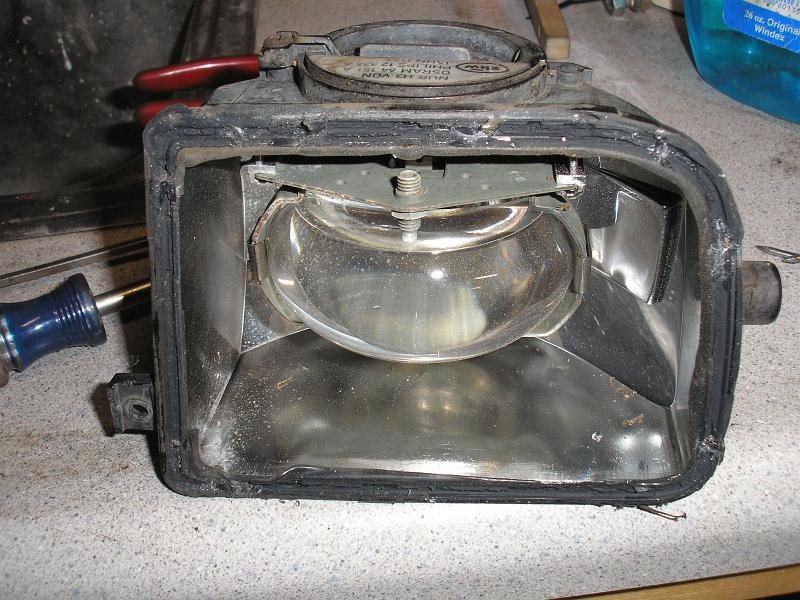
Next remove all the glass chunks you can with a screwdriver and pliers. Glass will break off and stay in the housing. Use a utility knife to cut the RTV in the groove free from the inner sides, and the flat blade screwdriver to scrape it of of the bottom. It should all come out with a little work. Once all the major pieces are gone, CAREFULLY remove the lens from inside the lights (ONLY if the light is dirty inside). Prying from the bulb-hatch with a flat blade screwdrver should break it loose, and you cn slide it out. Thoroughly clean the lens, bracket, and inside of the light with warm soapy water. Hand soap is about the strongest detergent you will want to use on the inside of the housing. The reflective coating is very easy to damage. A wet paper towel is sufficient for scrubbing, nothing more abrasive. When reassembling you should use a TINY bit of silicone RTV in the slots the lens bracket slides in to hold it in place.


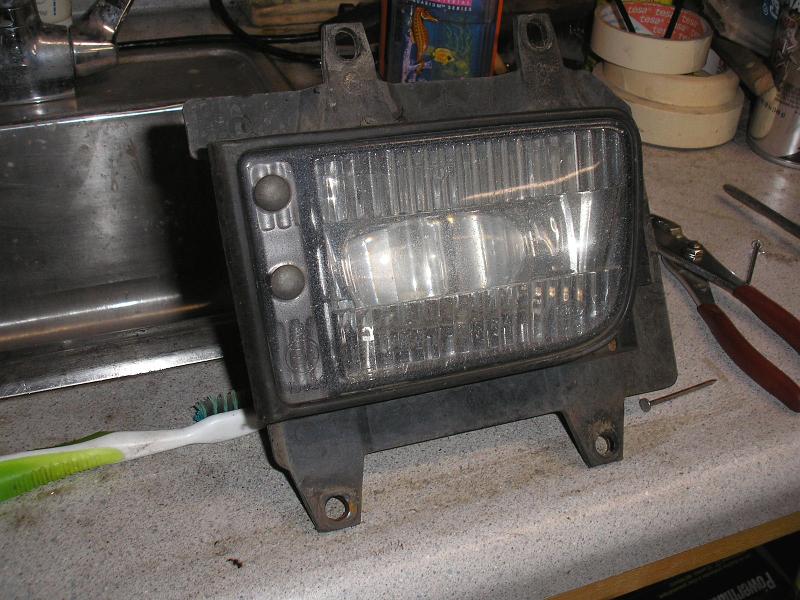
If your second light still has its cover intact, but it looks like rubbish, it should be removed. The replacement covers are only sold in pairs, and having one good light and a shabby one just looks cheap. A centerpunch with a sharp tip works well to get things moving. Clean up your second light as you did the first.
Take the LaminX film and cut it into two pieces, each large enough to cover the entire replacement cover. Carefully apply it to the cover, adjusting it as necessary to avoid large bubbles. Some bubbles are unavoidable, and will diffuse out over the course of the next couple months. Using the utility knife, trim the film so it neatly matches the cover's contour.
To attach the new covers, fill the groove in the housing with RTV, and run a bead along the mating surface on the replacements. Set the replacement on and align it. Use some masking tape to hold it in place while the RTV cures. Once that has finished, you will RTV the outer rubber rings on. Masking tape is again necessary to prevent them from sliding off.

Conclusions & Results
That's it! You are done. Reinstall the lights and enjoy the facelift your car just got! This is a pretty inexpensive way to get your old fog lights back in proper shape again. Replacement units are very expensive, and there really is no good reason to replace the whole thing just because of a broken cover.